<?xml version="1.0" encoding="utf-8"?><feed xmlns="http://www.w3.org/2005/Atom" xml:lang="en-US"><generator uri="https://jekyllrb.com/" version="4.3.1">Jekyll</generator><link href="https://shanteacontrols.com/feed.xml" rel="self" type="application/atom+xml" /><link href="https://shanteacontrols.com/" rel="alternate" type="text/html" hreflang="en-US" /><updated>2024-11-28T20:29:18+00:00</updated><id>https://shanteacontrols.com/feed.xml</id><title type="html">Shantea Controls</title><entry><title type="html">Using The New Program Change Offset Features In OpenDeck v7.3.0</title><link href="https://shanteacontrols.com/2022/06/24/new-pco-features/" rel="alternate" type="text/html" title="Using The New Program Change Offset Features In OpenDeck v7.3.0" /><published>2022-06-24T00:00:00+00:00</published><updated>2022-06-24T00:00:00+00:00</updated><id>https://shanteacontrols.com/2022/06/24/new-pco-features</id><content type="html" xml:base="https://shanteacontrols.com/2022/06/24/new-pco-features/"><![CDATA[<p><em>This is a guest post by Ricky Sheaves aka n3wkular.</em></p>

<p>OpenDeck is hands-down the most robust DIY MIDI contoller platform available. I’ve used it to build mixing console controllers for my DAW, dedicated look-alike hardware controllers for my favourite software plugin emulations, and more. But there was one thing I wished it could do even better: integrate with guitar amplifier and effects simulation software like IK Multimedia’s AmpliTube.
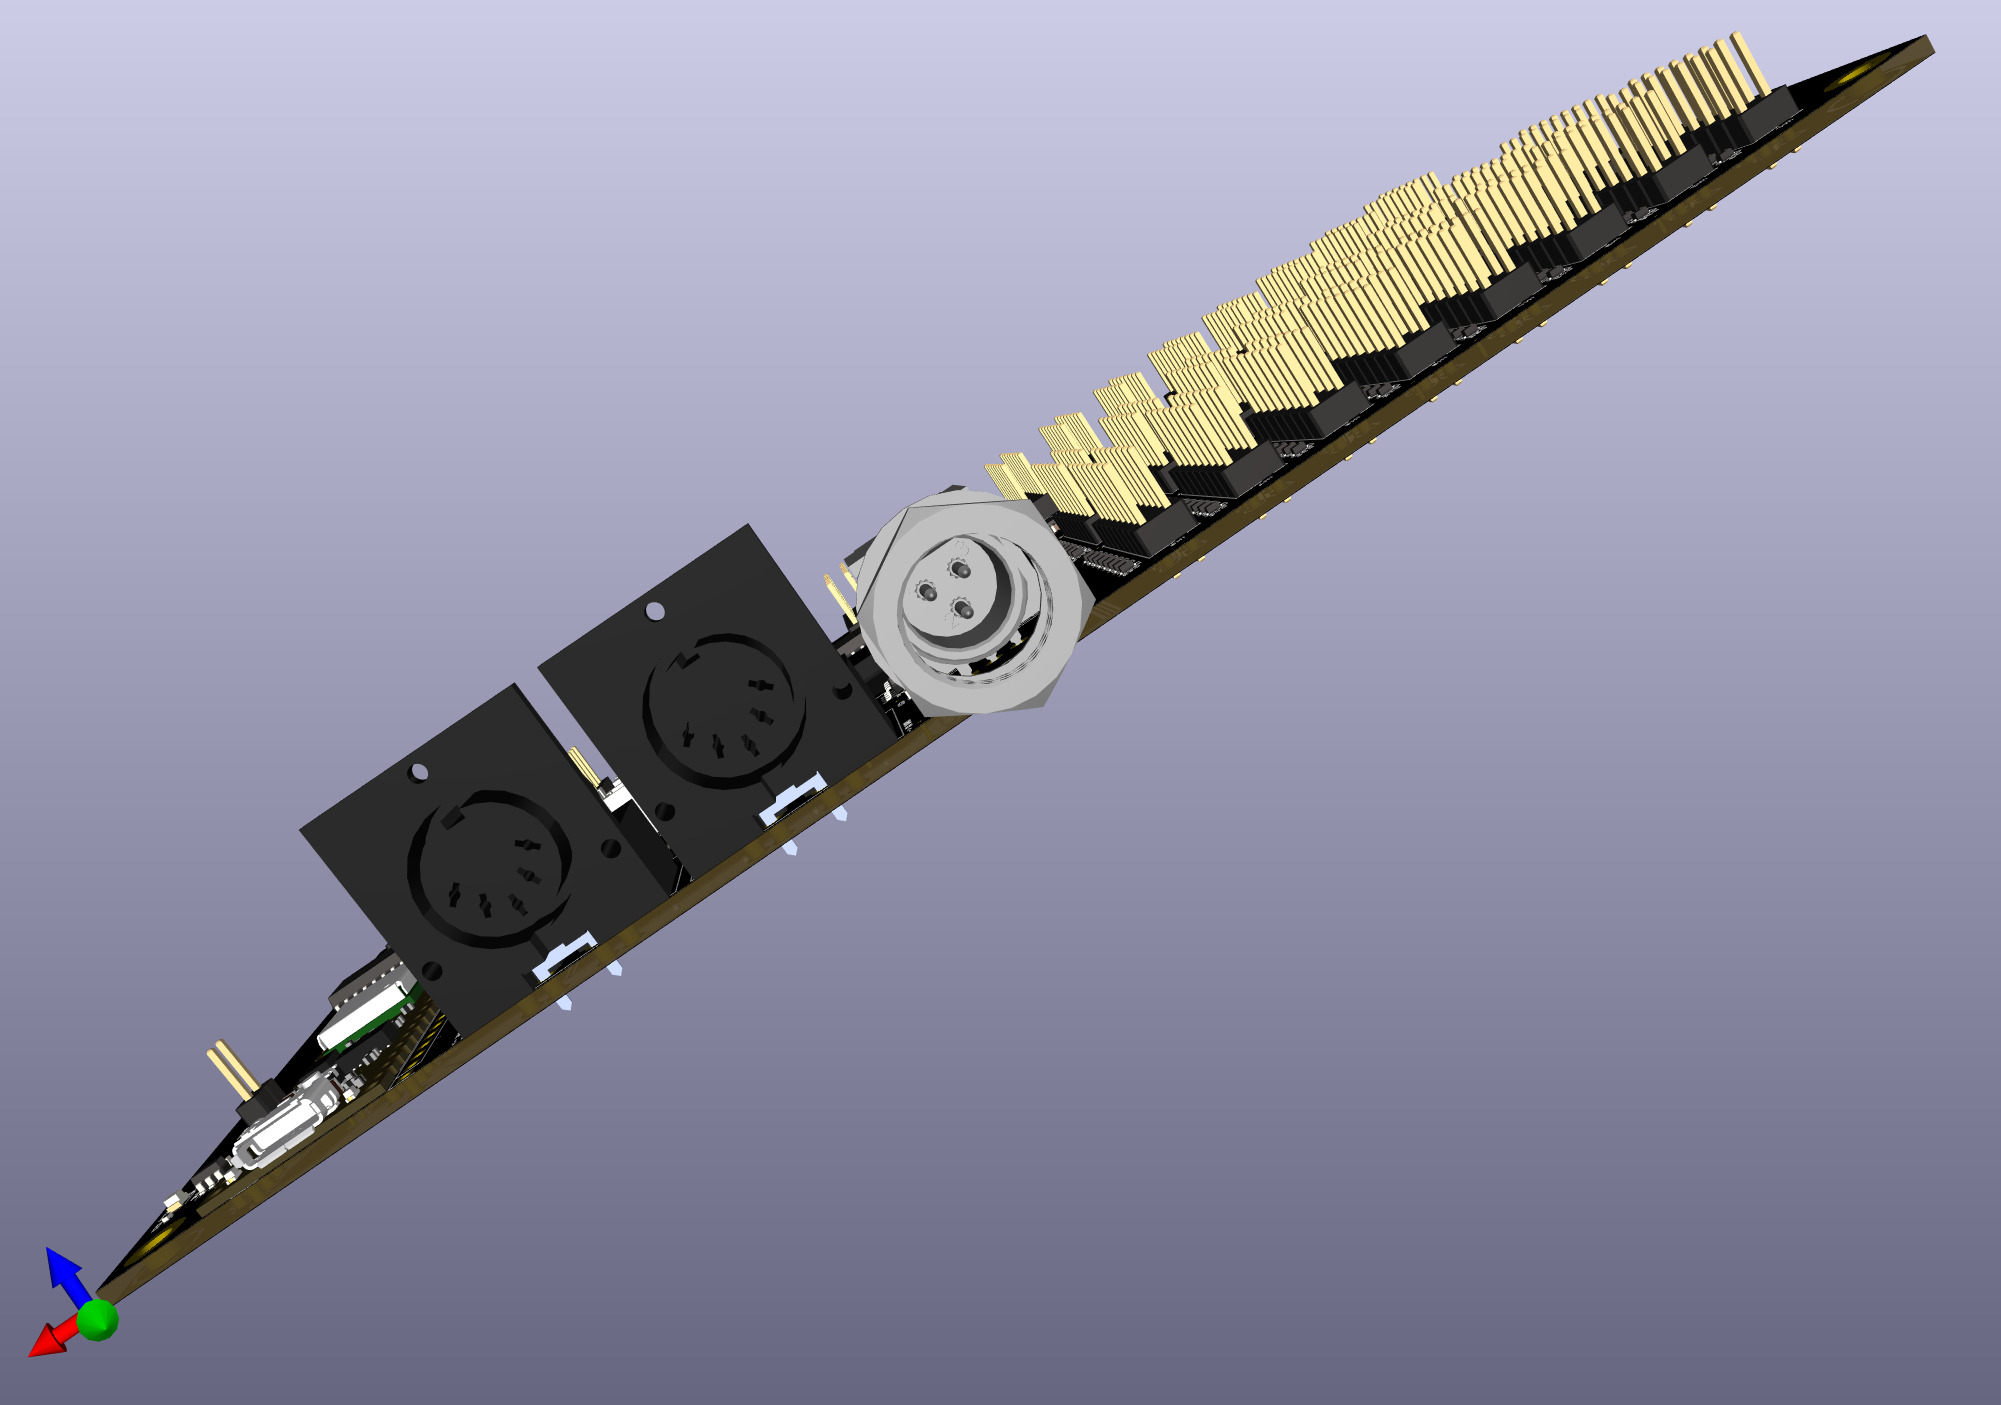
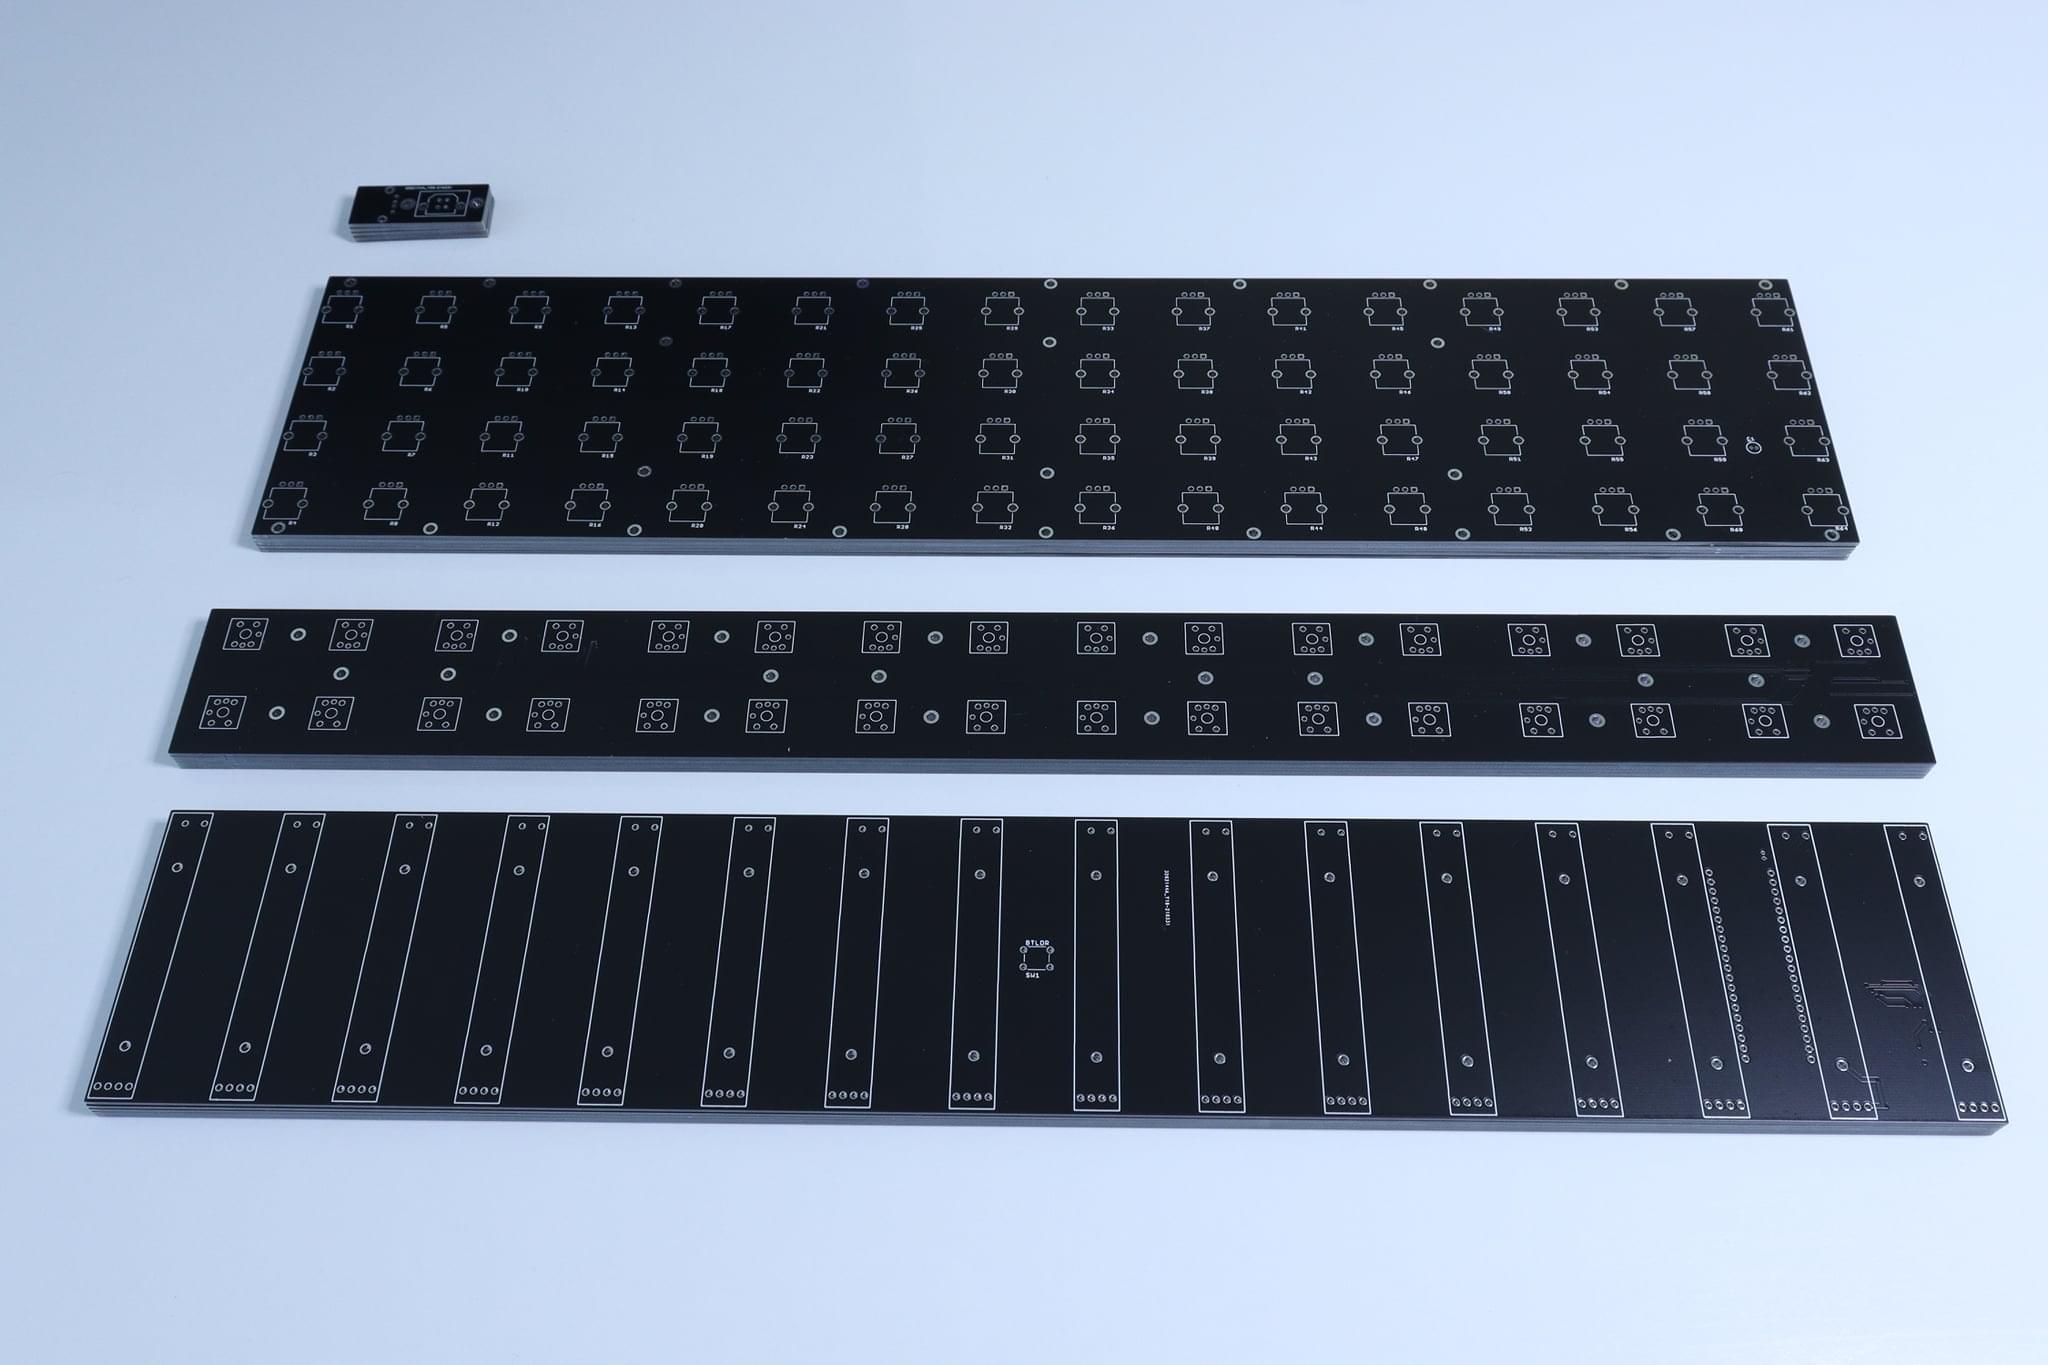
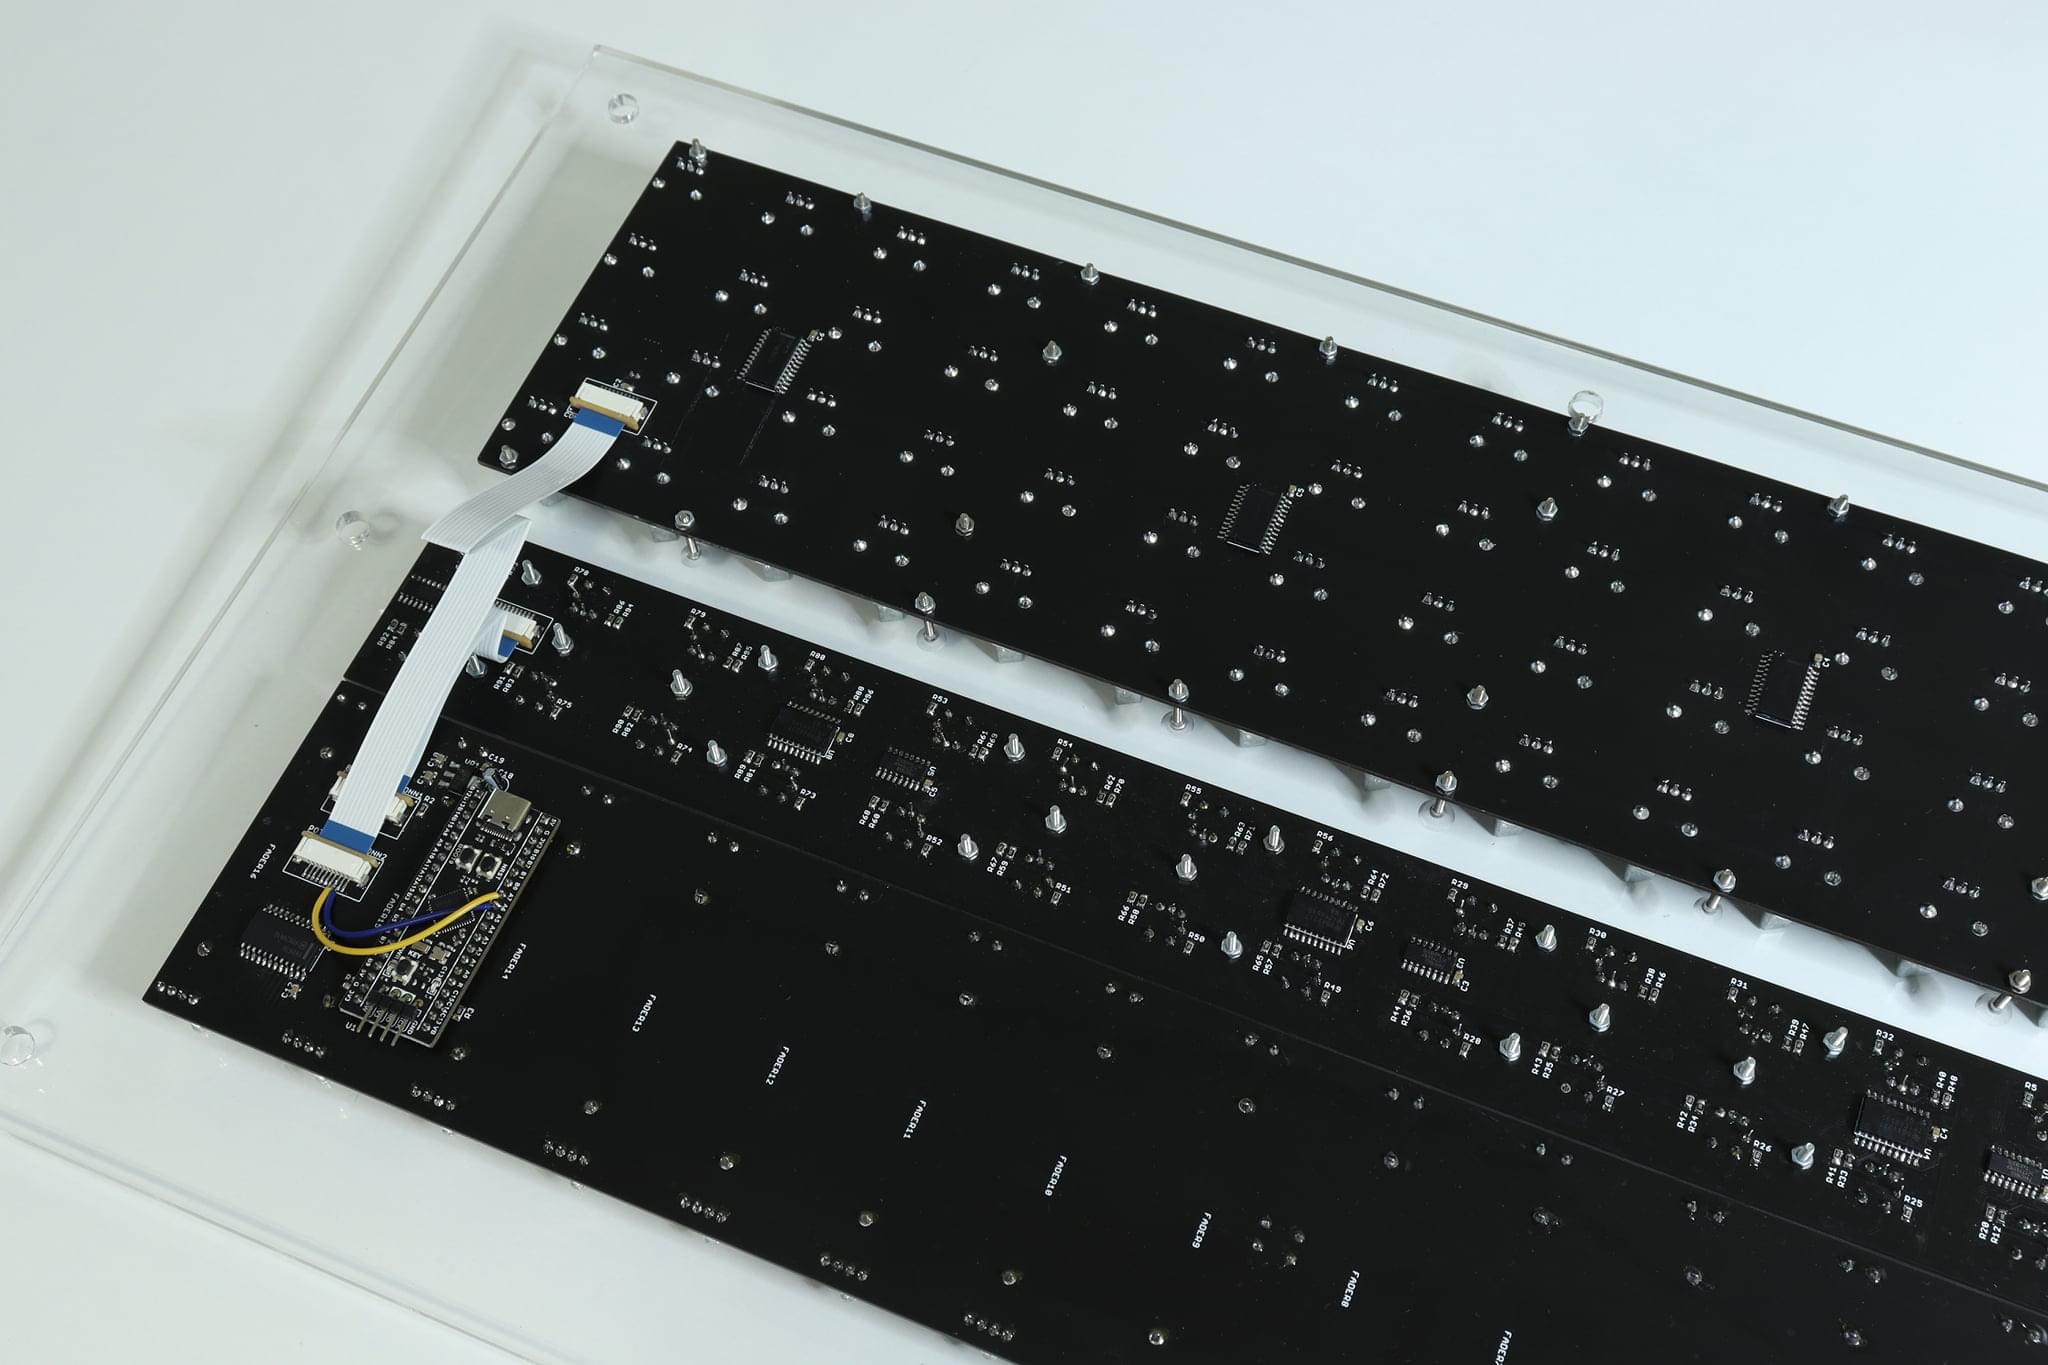
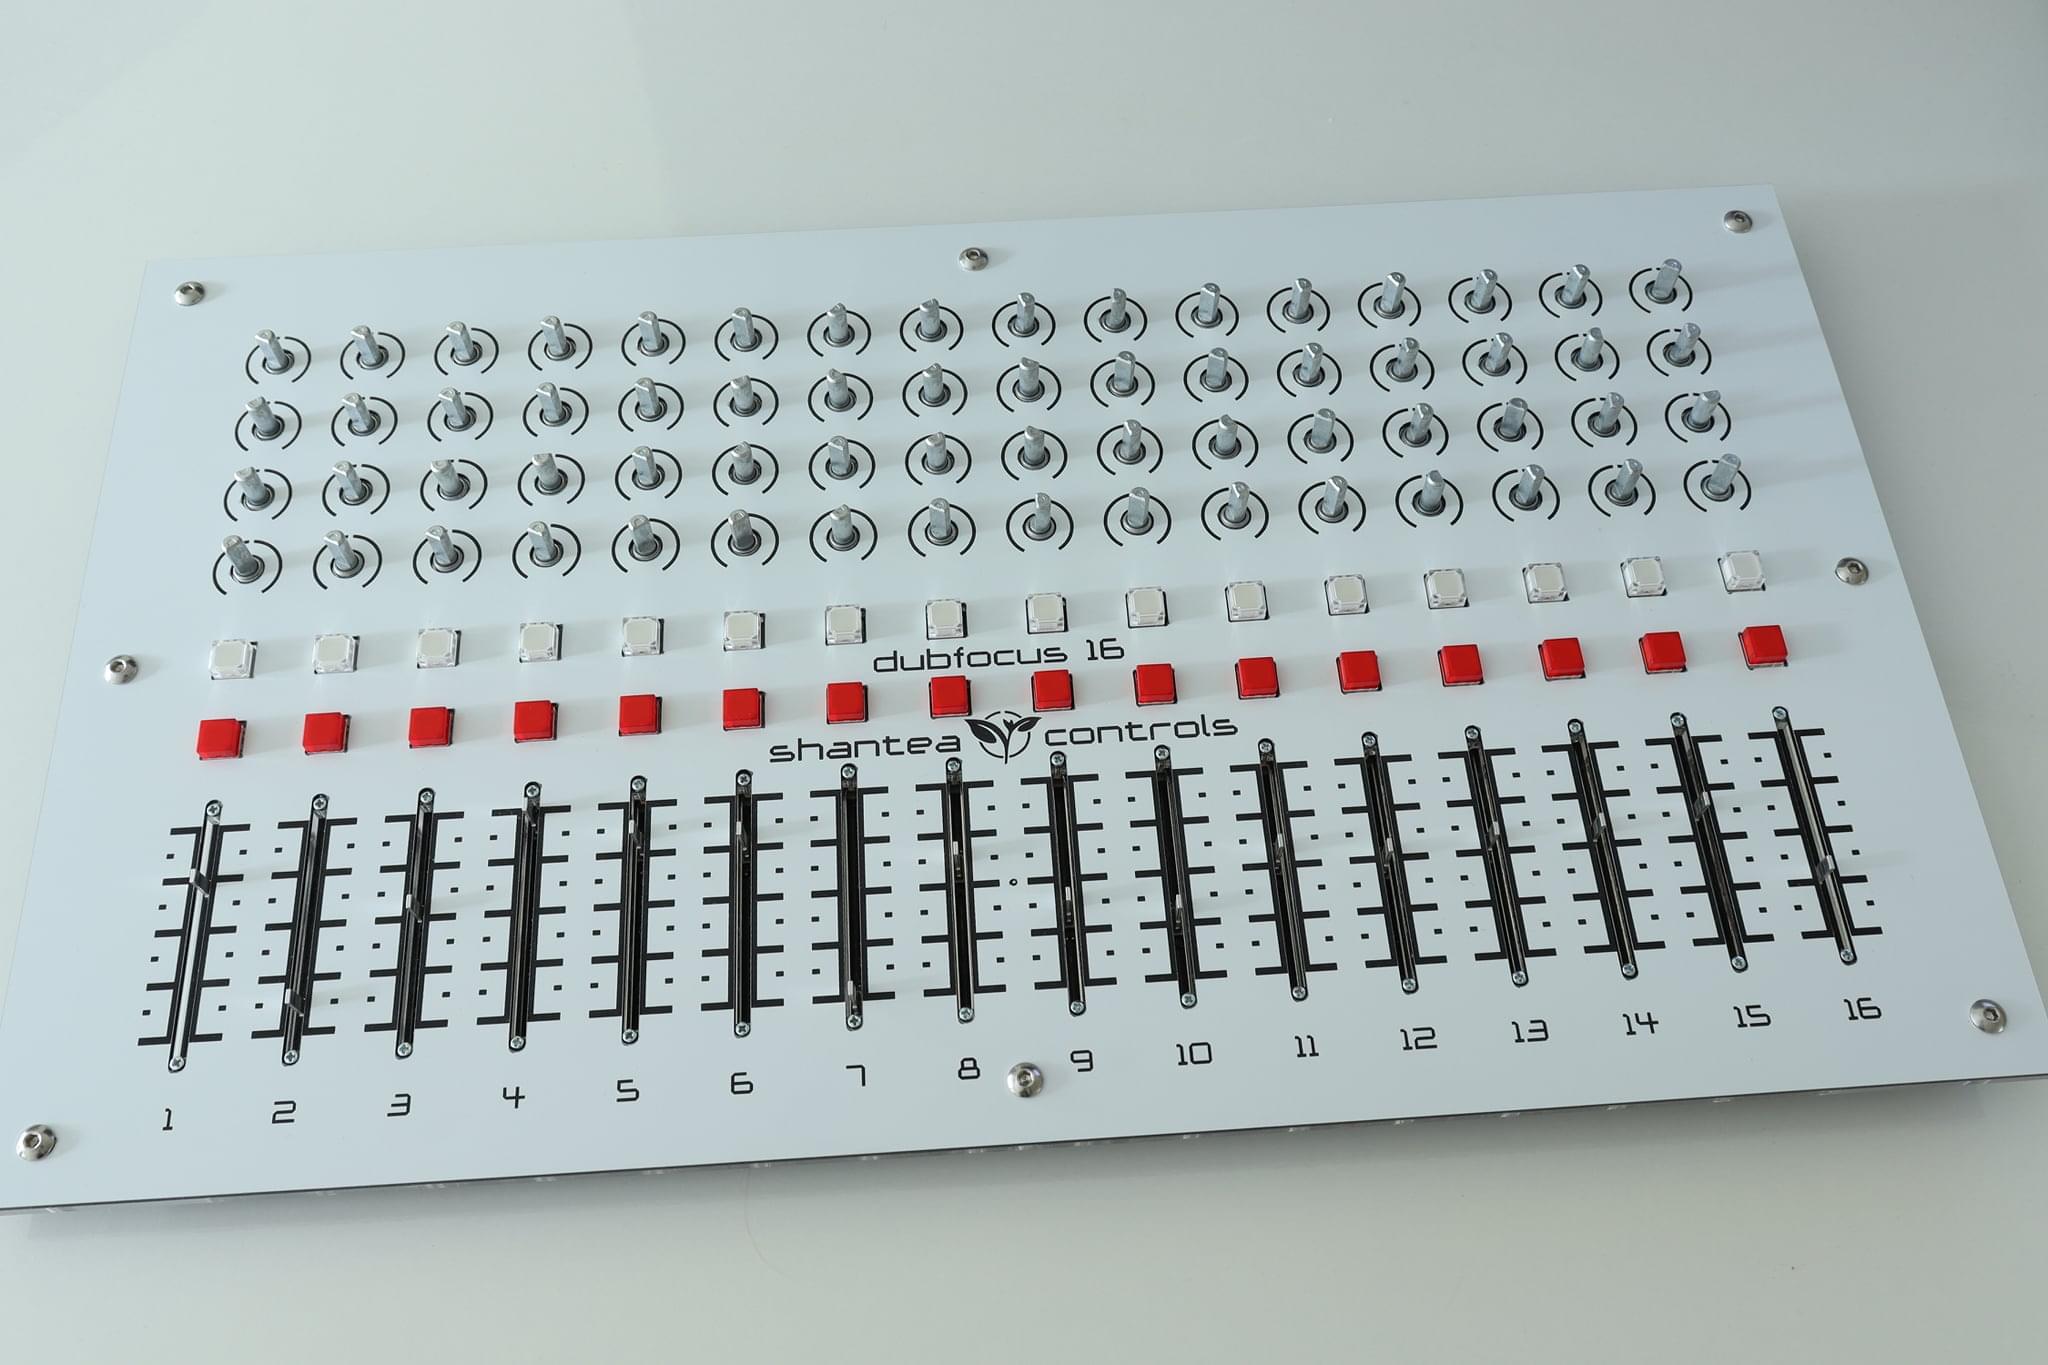
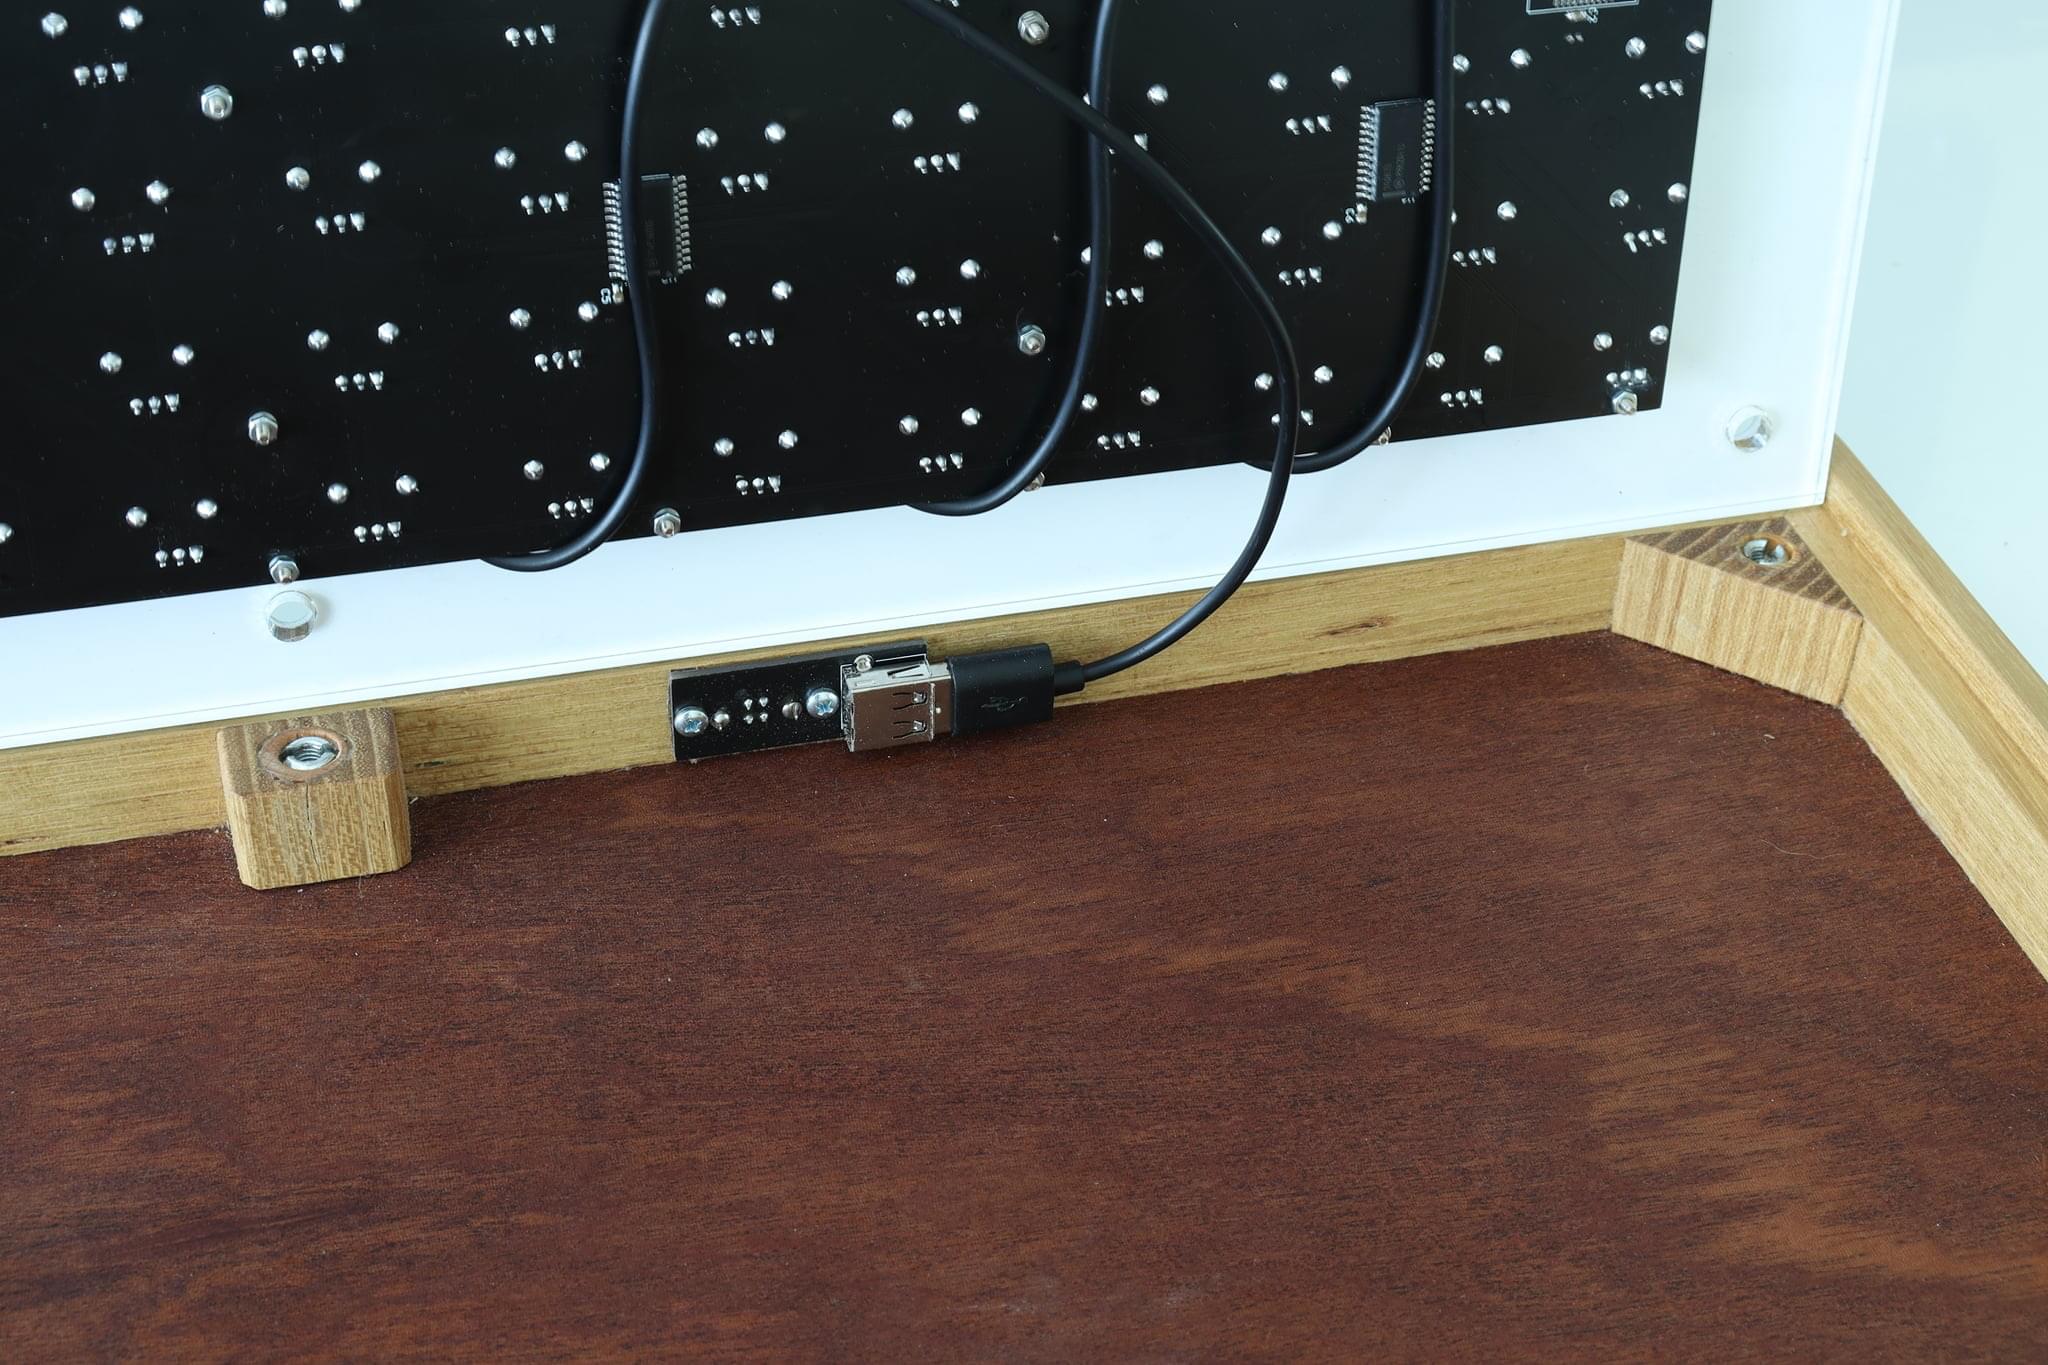
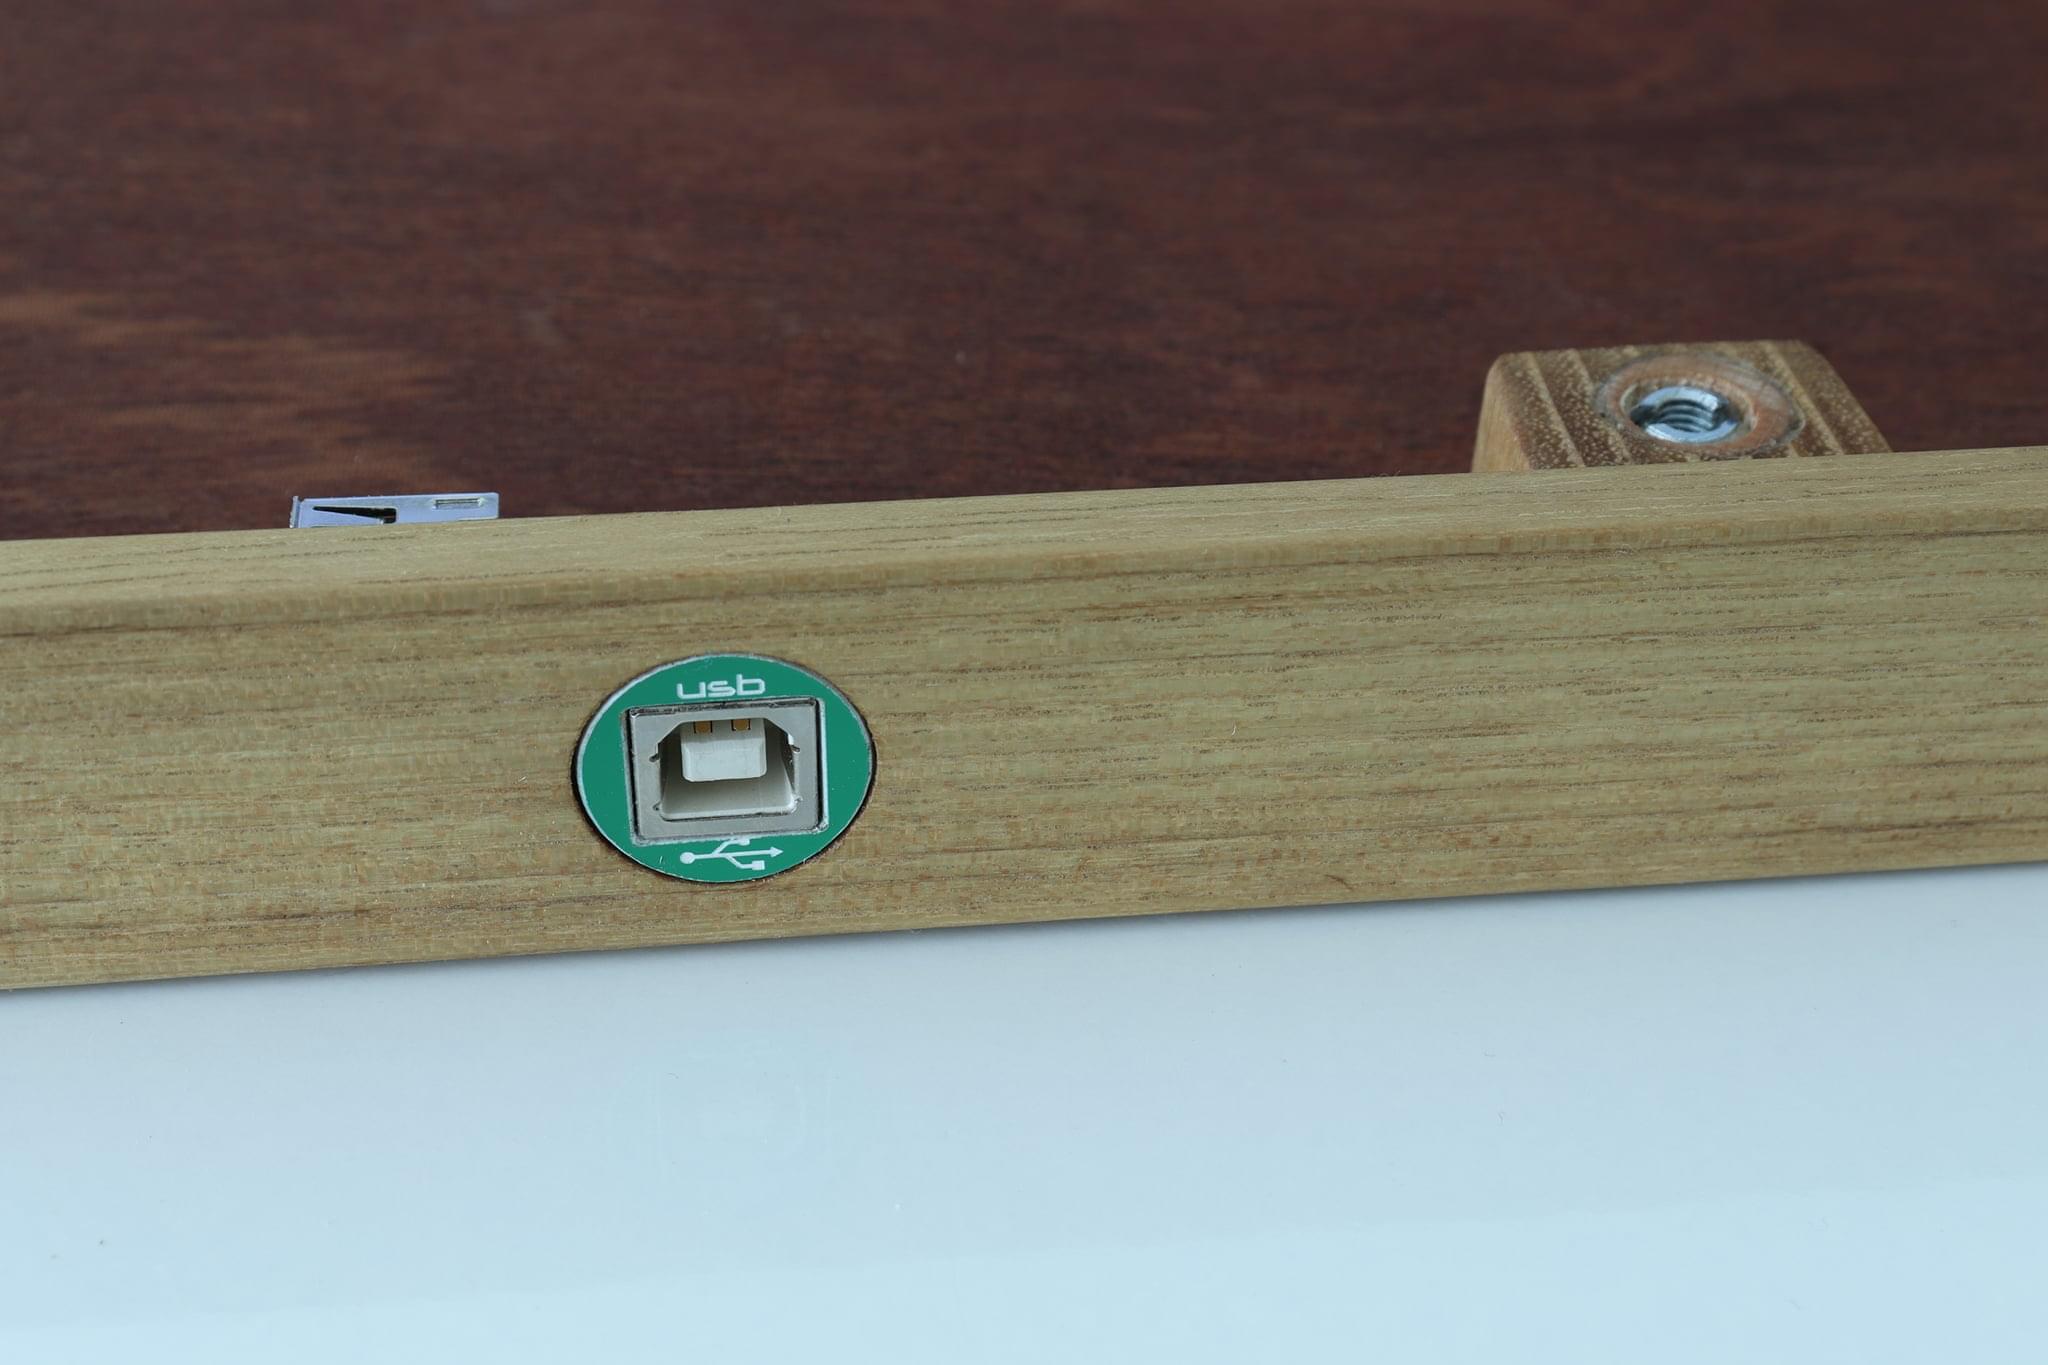
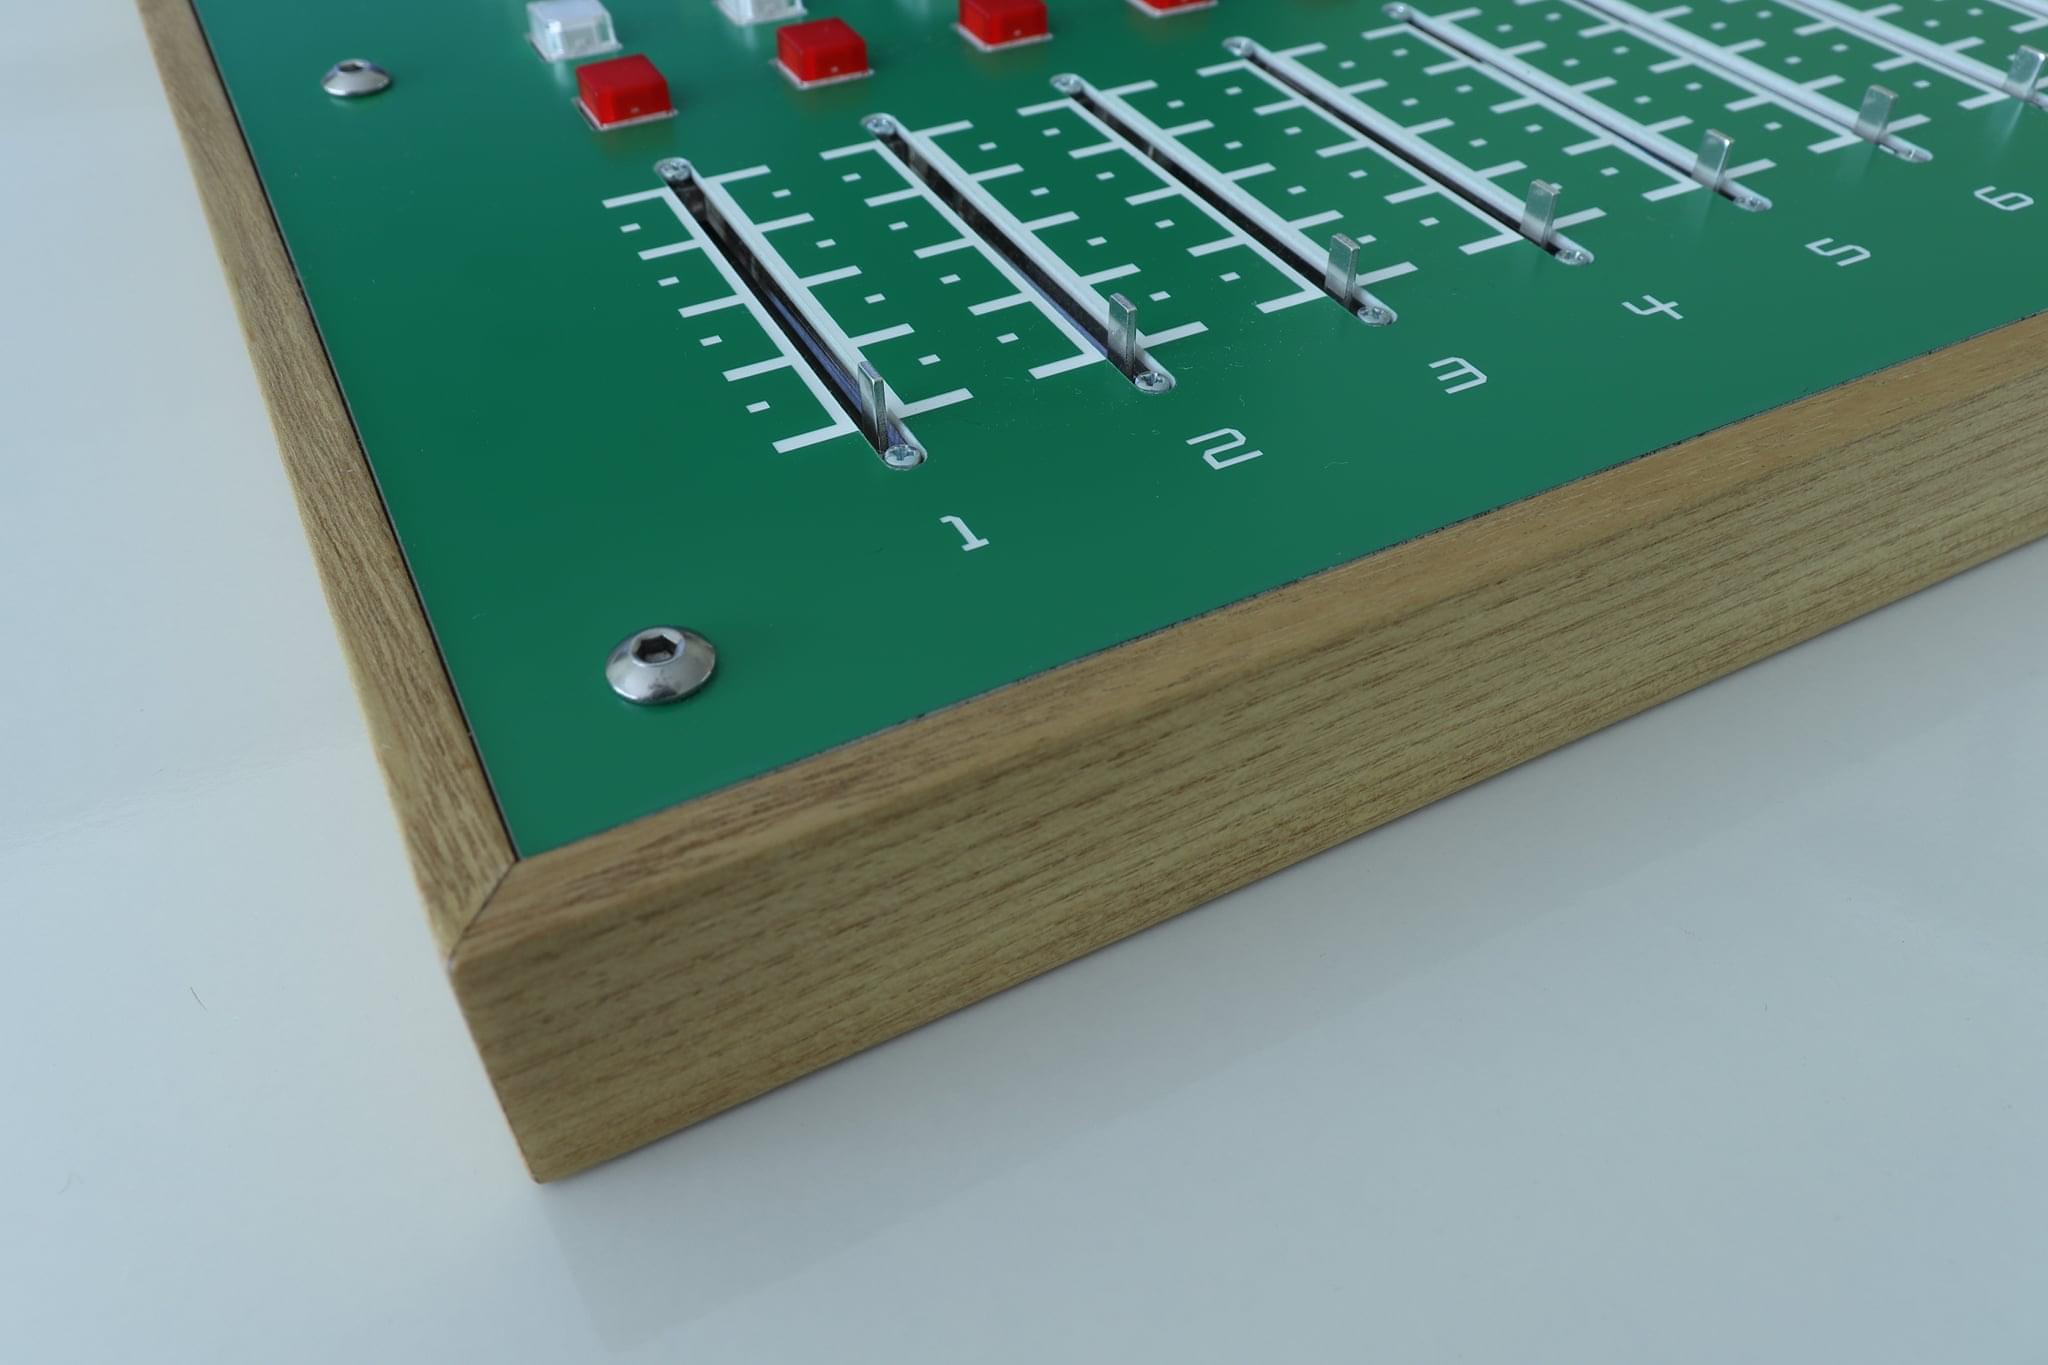
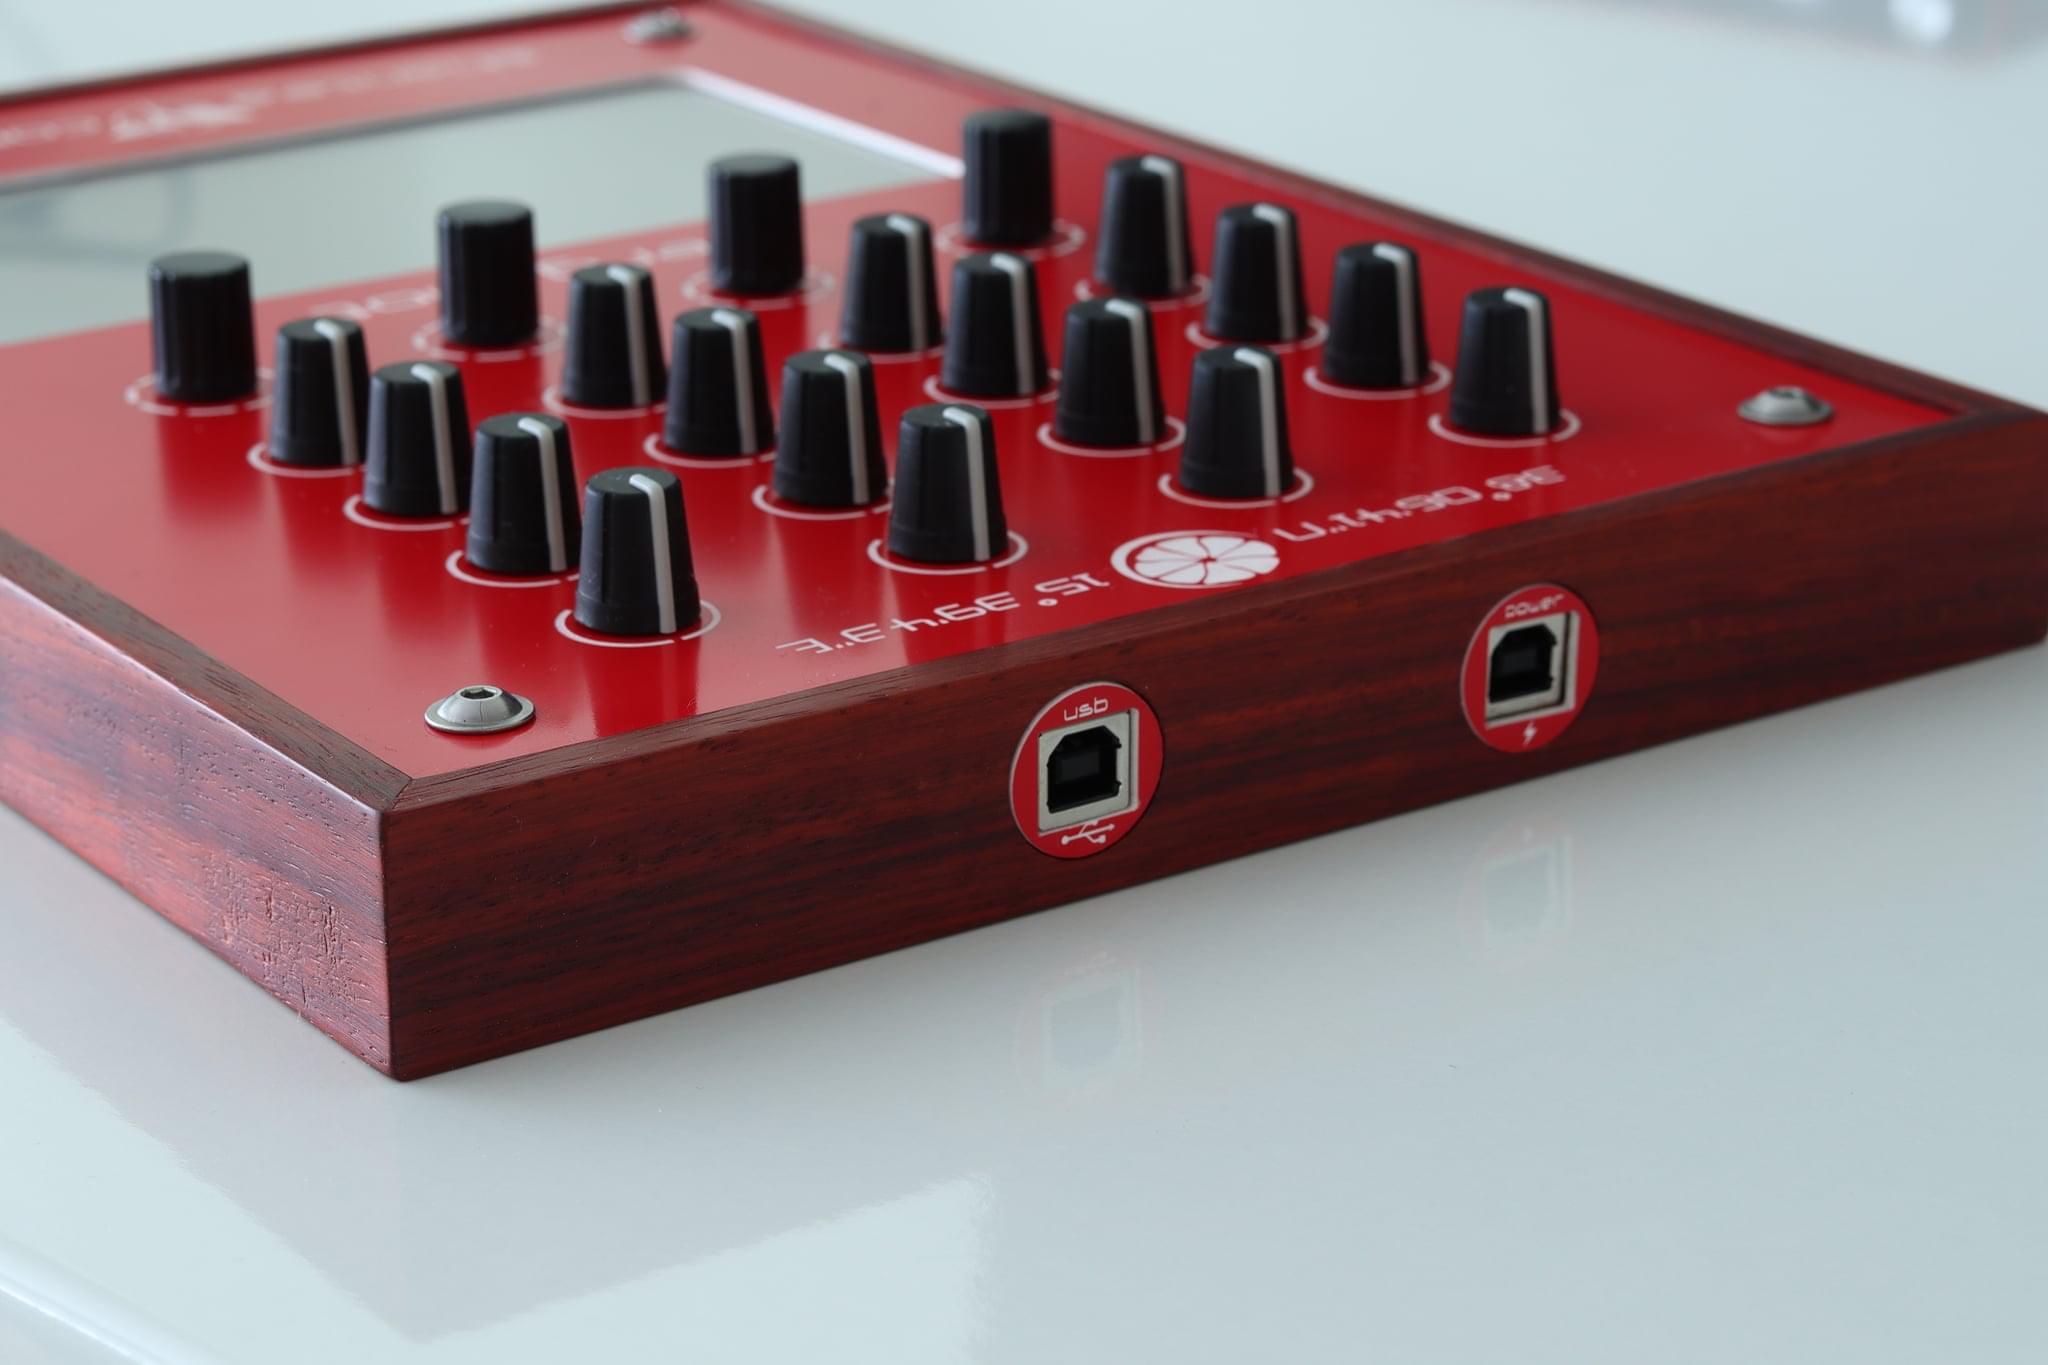
</p>

<p>So, I <a href="https://github.com/shanteacontrols/OpenDeck/discussions/157">wrote that idea up along with a high-level UX design</a> in OpenDeck’s GitHub project. In just a few days, paradajz had implemented and refined it further, and released the new functionality in <a href="https://github.com/shanteacontrols/OpenDeck/releases/tag/v7.3.0">v7.3.0 of the OpenDeck firmware</a> and the (brilliant!) web Configurator. Now, I am in the midst of waiting for parts to arrive, designing my enclosure, and all the other finish work to build a custom DIY controller with this new feature.</p>

<p>To understand why you would need the new functionality, let’s examine the UX challenges in building a MIDI controller for guitar amplifier and effects similuation software, and let’s use [IK Multimedia’s AmpliTube]: https://www.ikmultimedia.com/products/amplitube5/ as the example.</p>

<p>
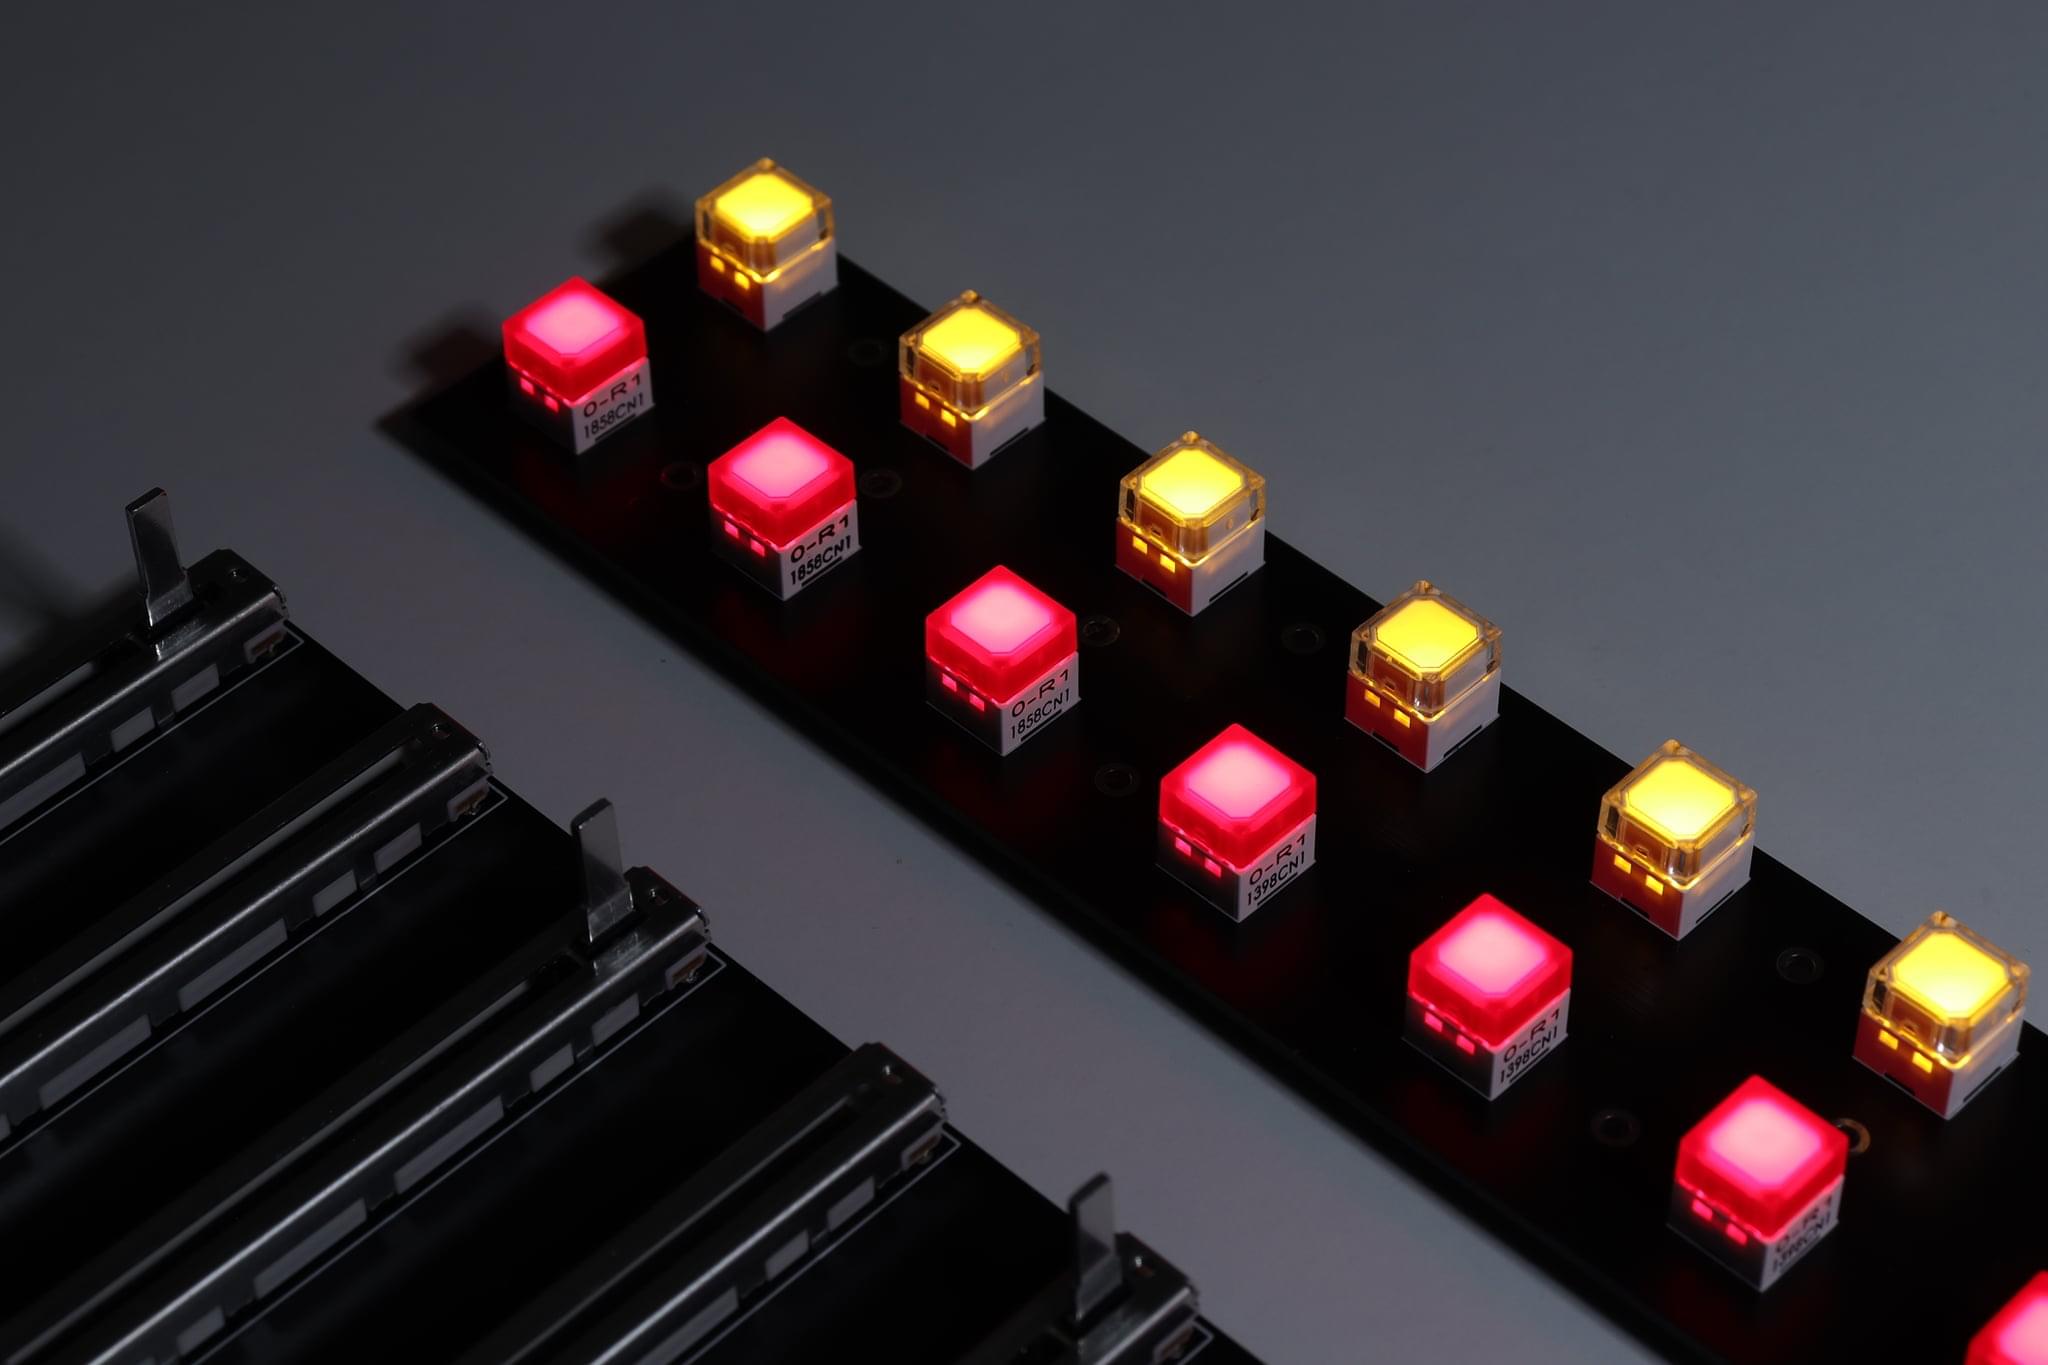
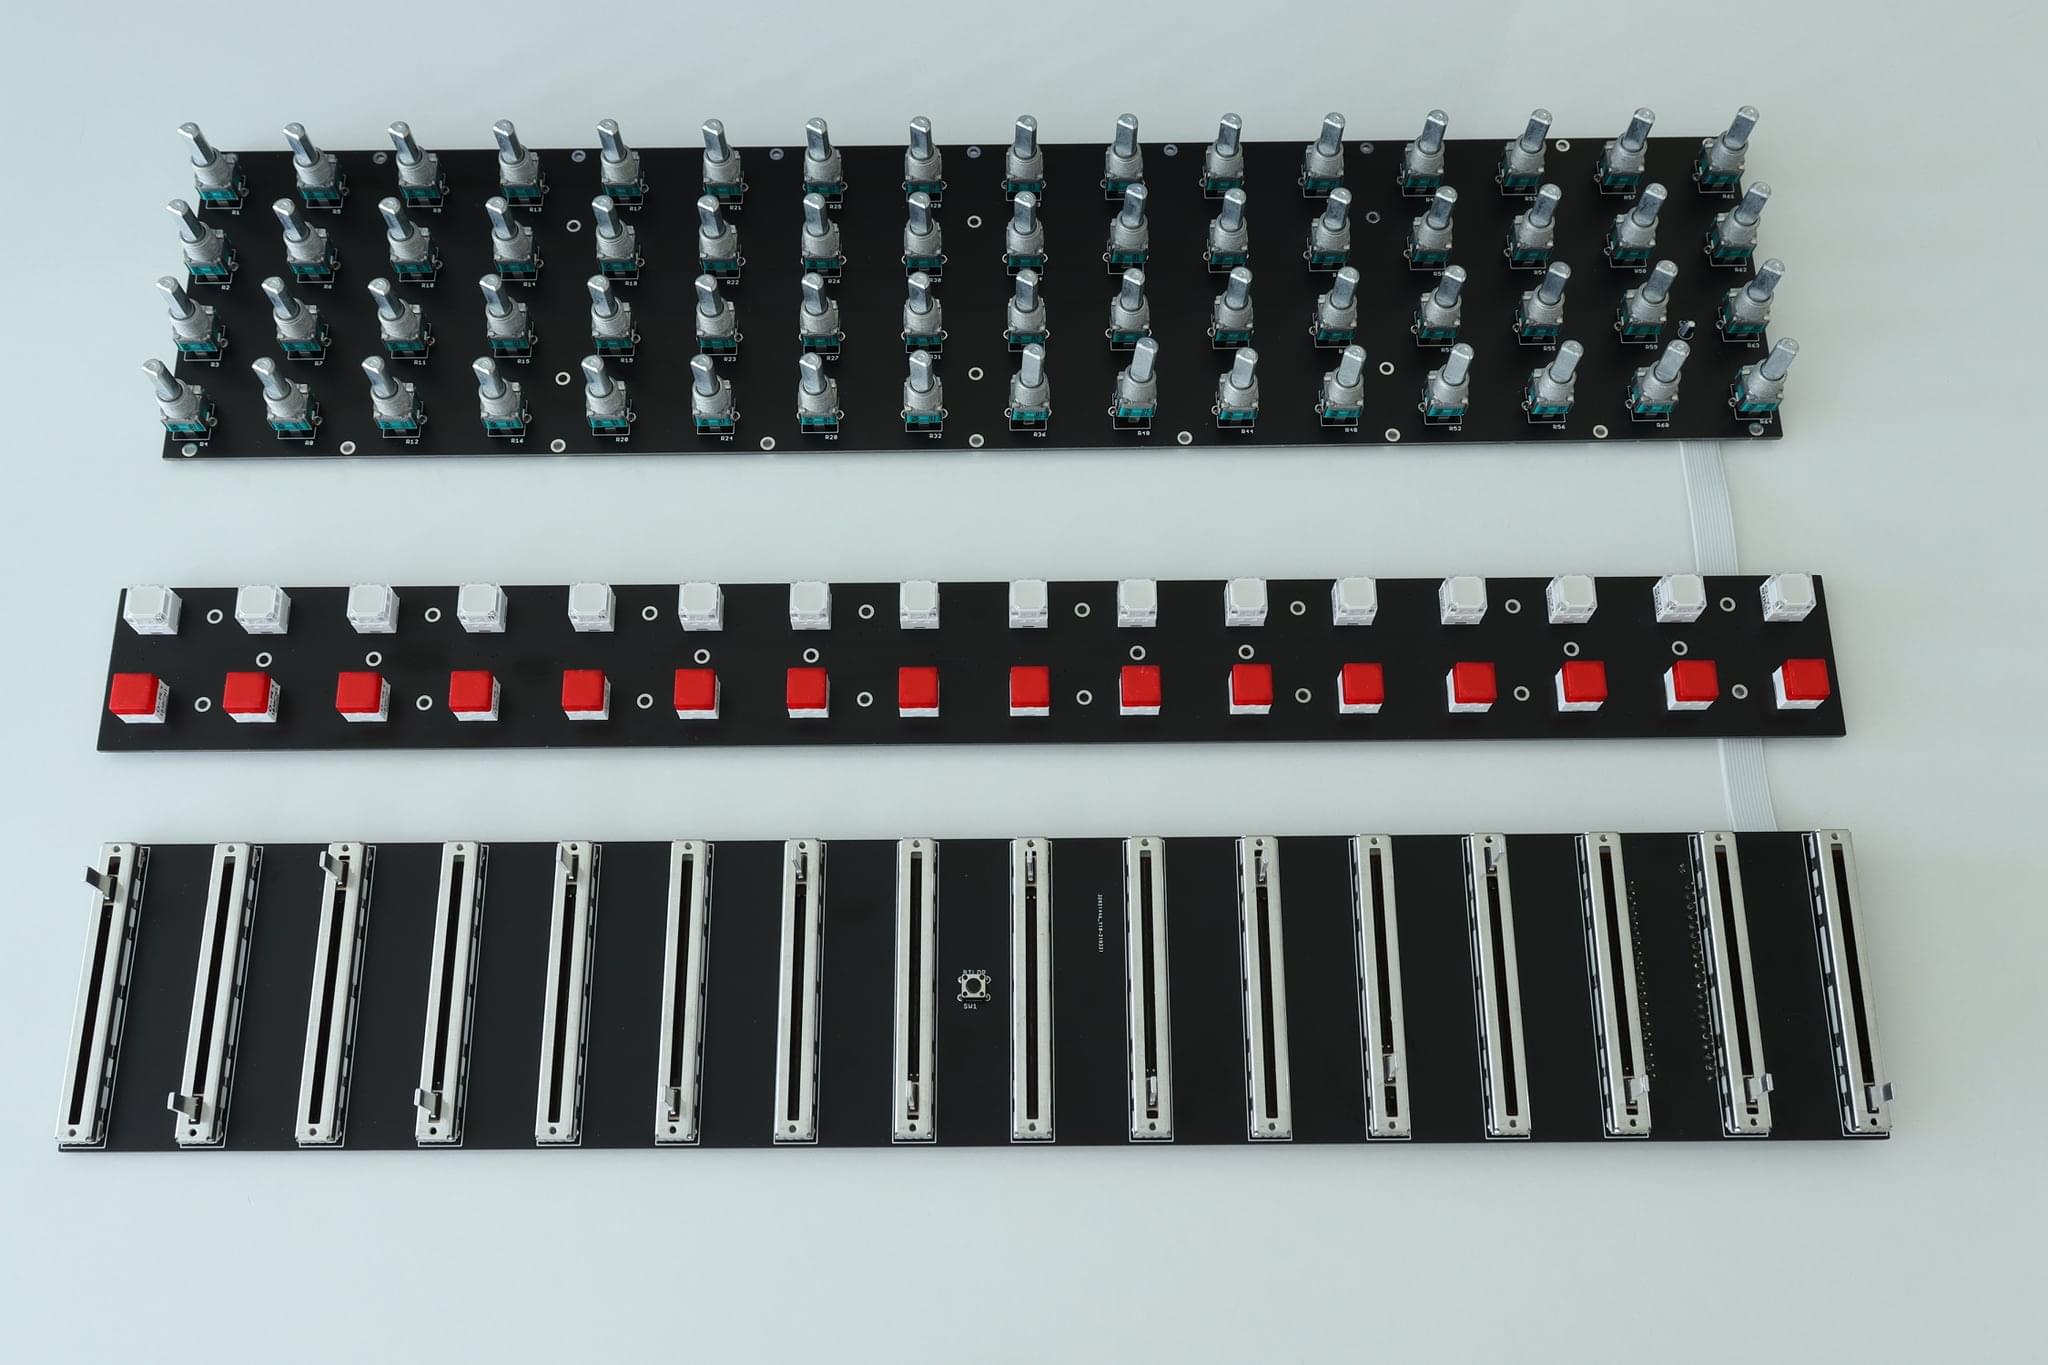
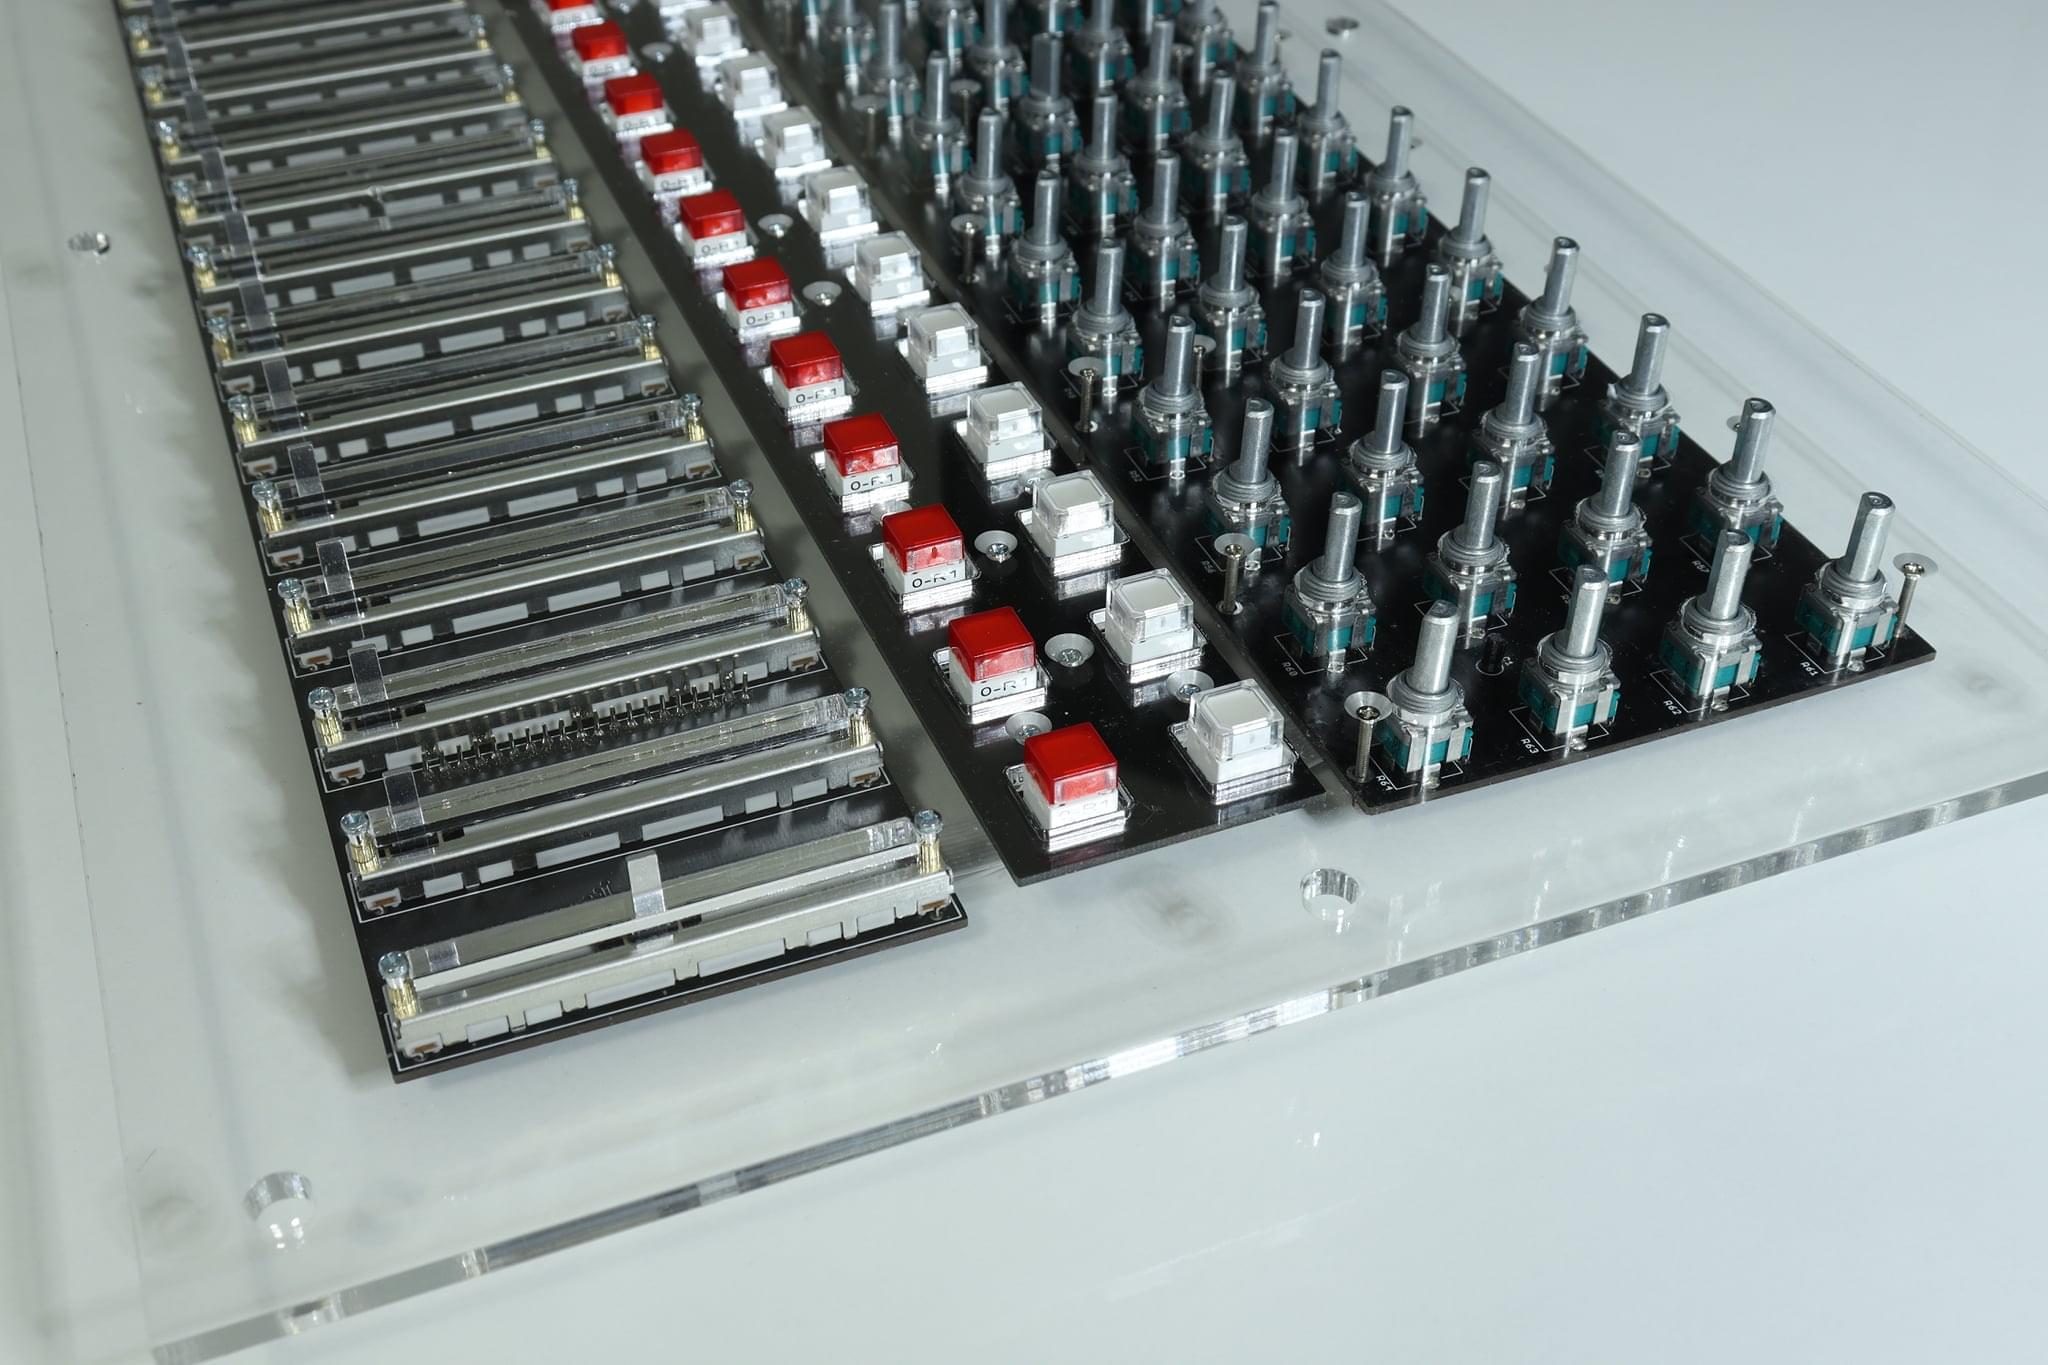
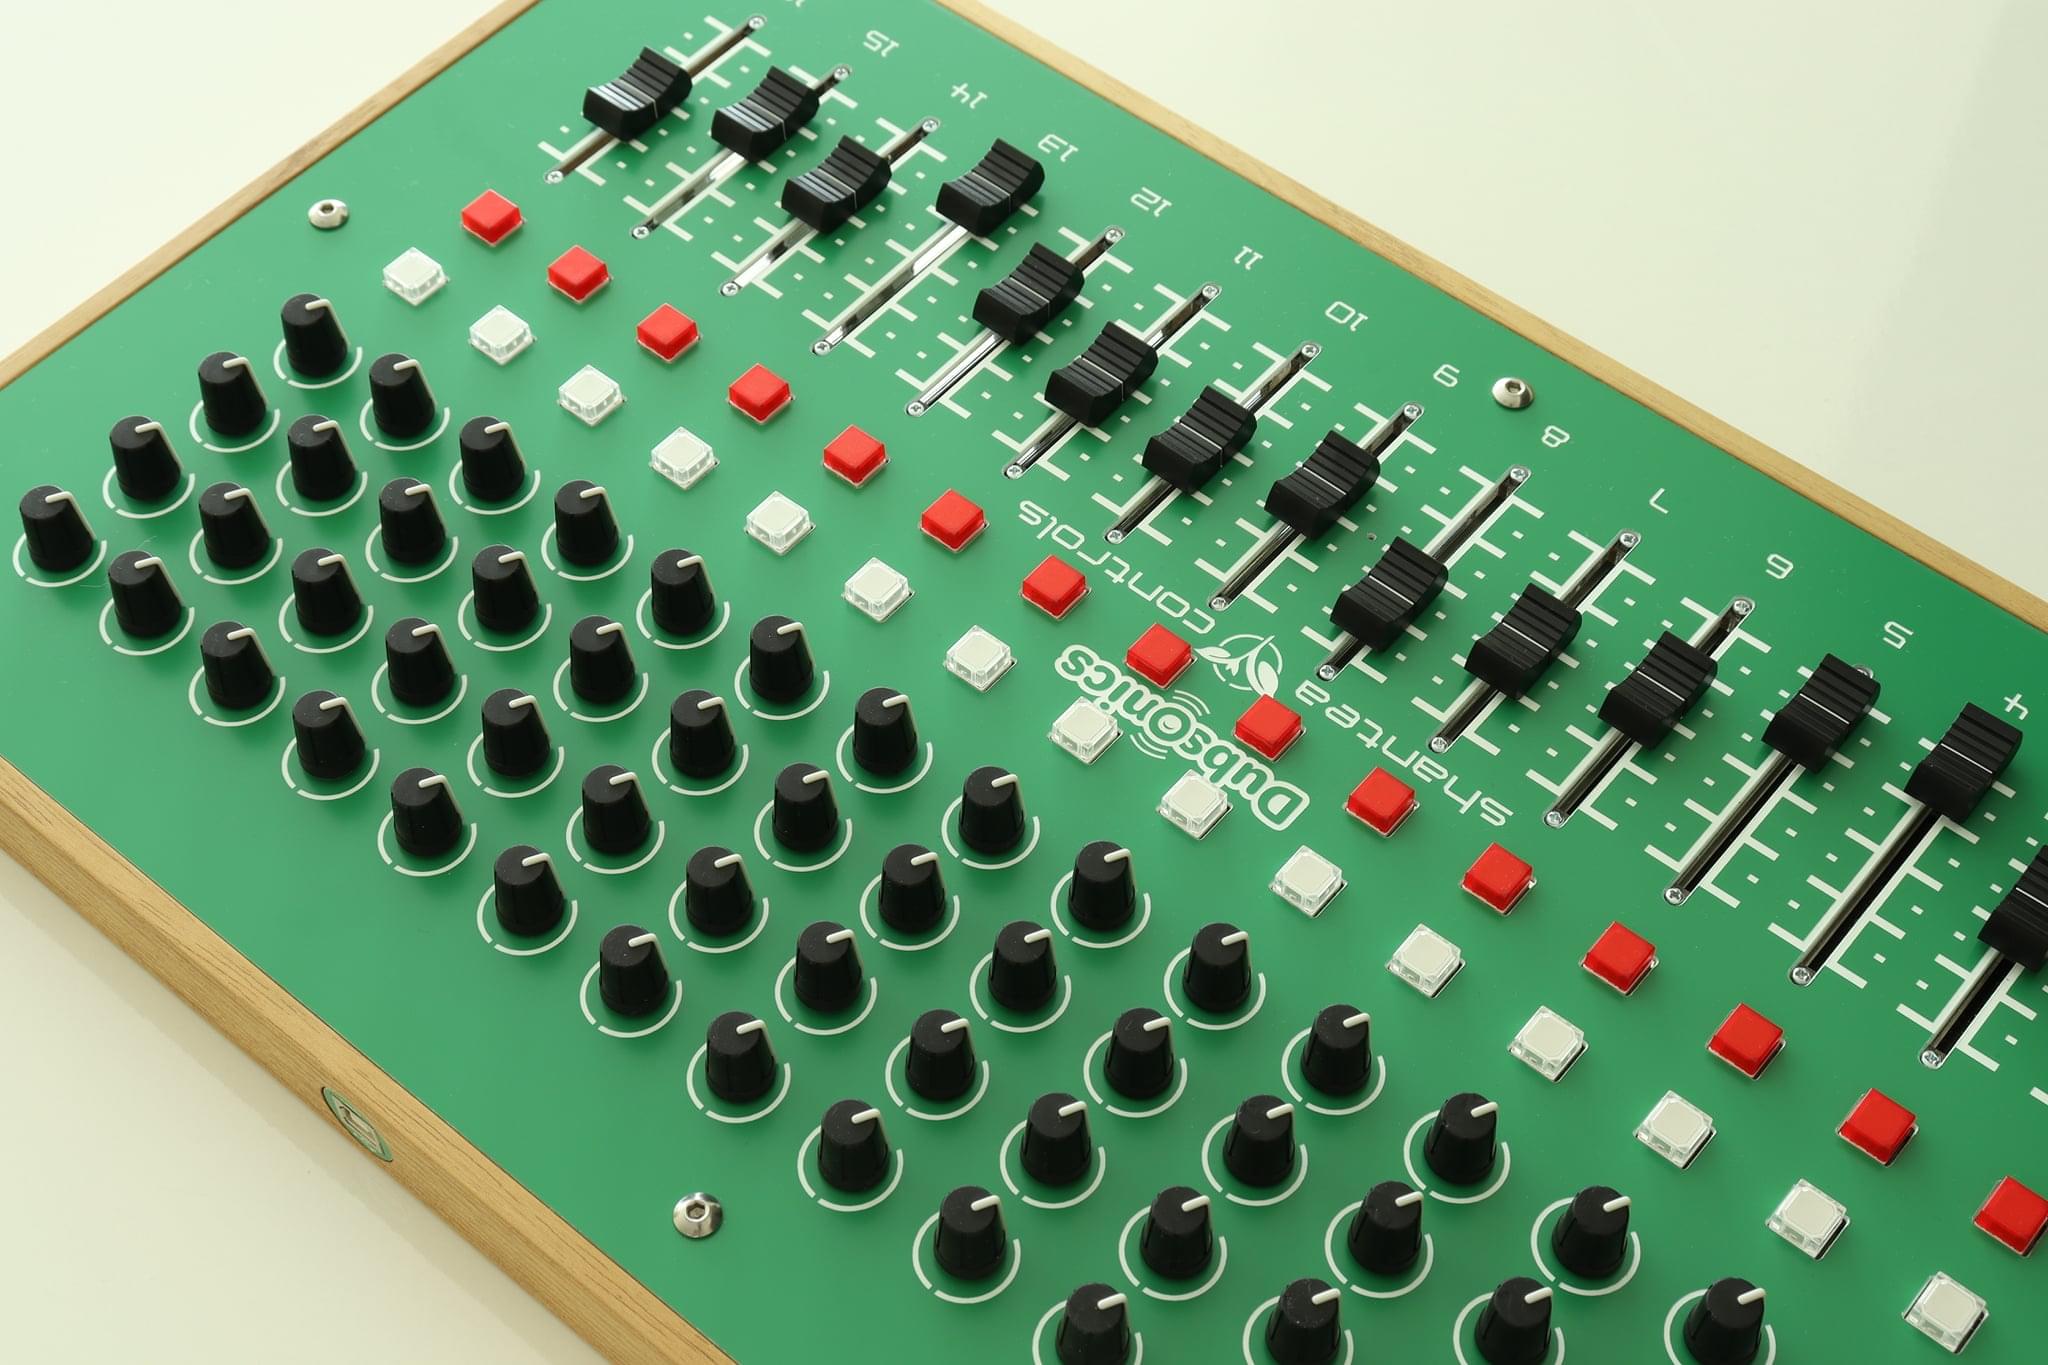
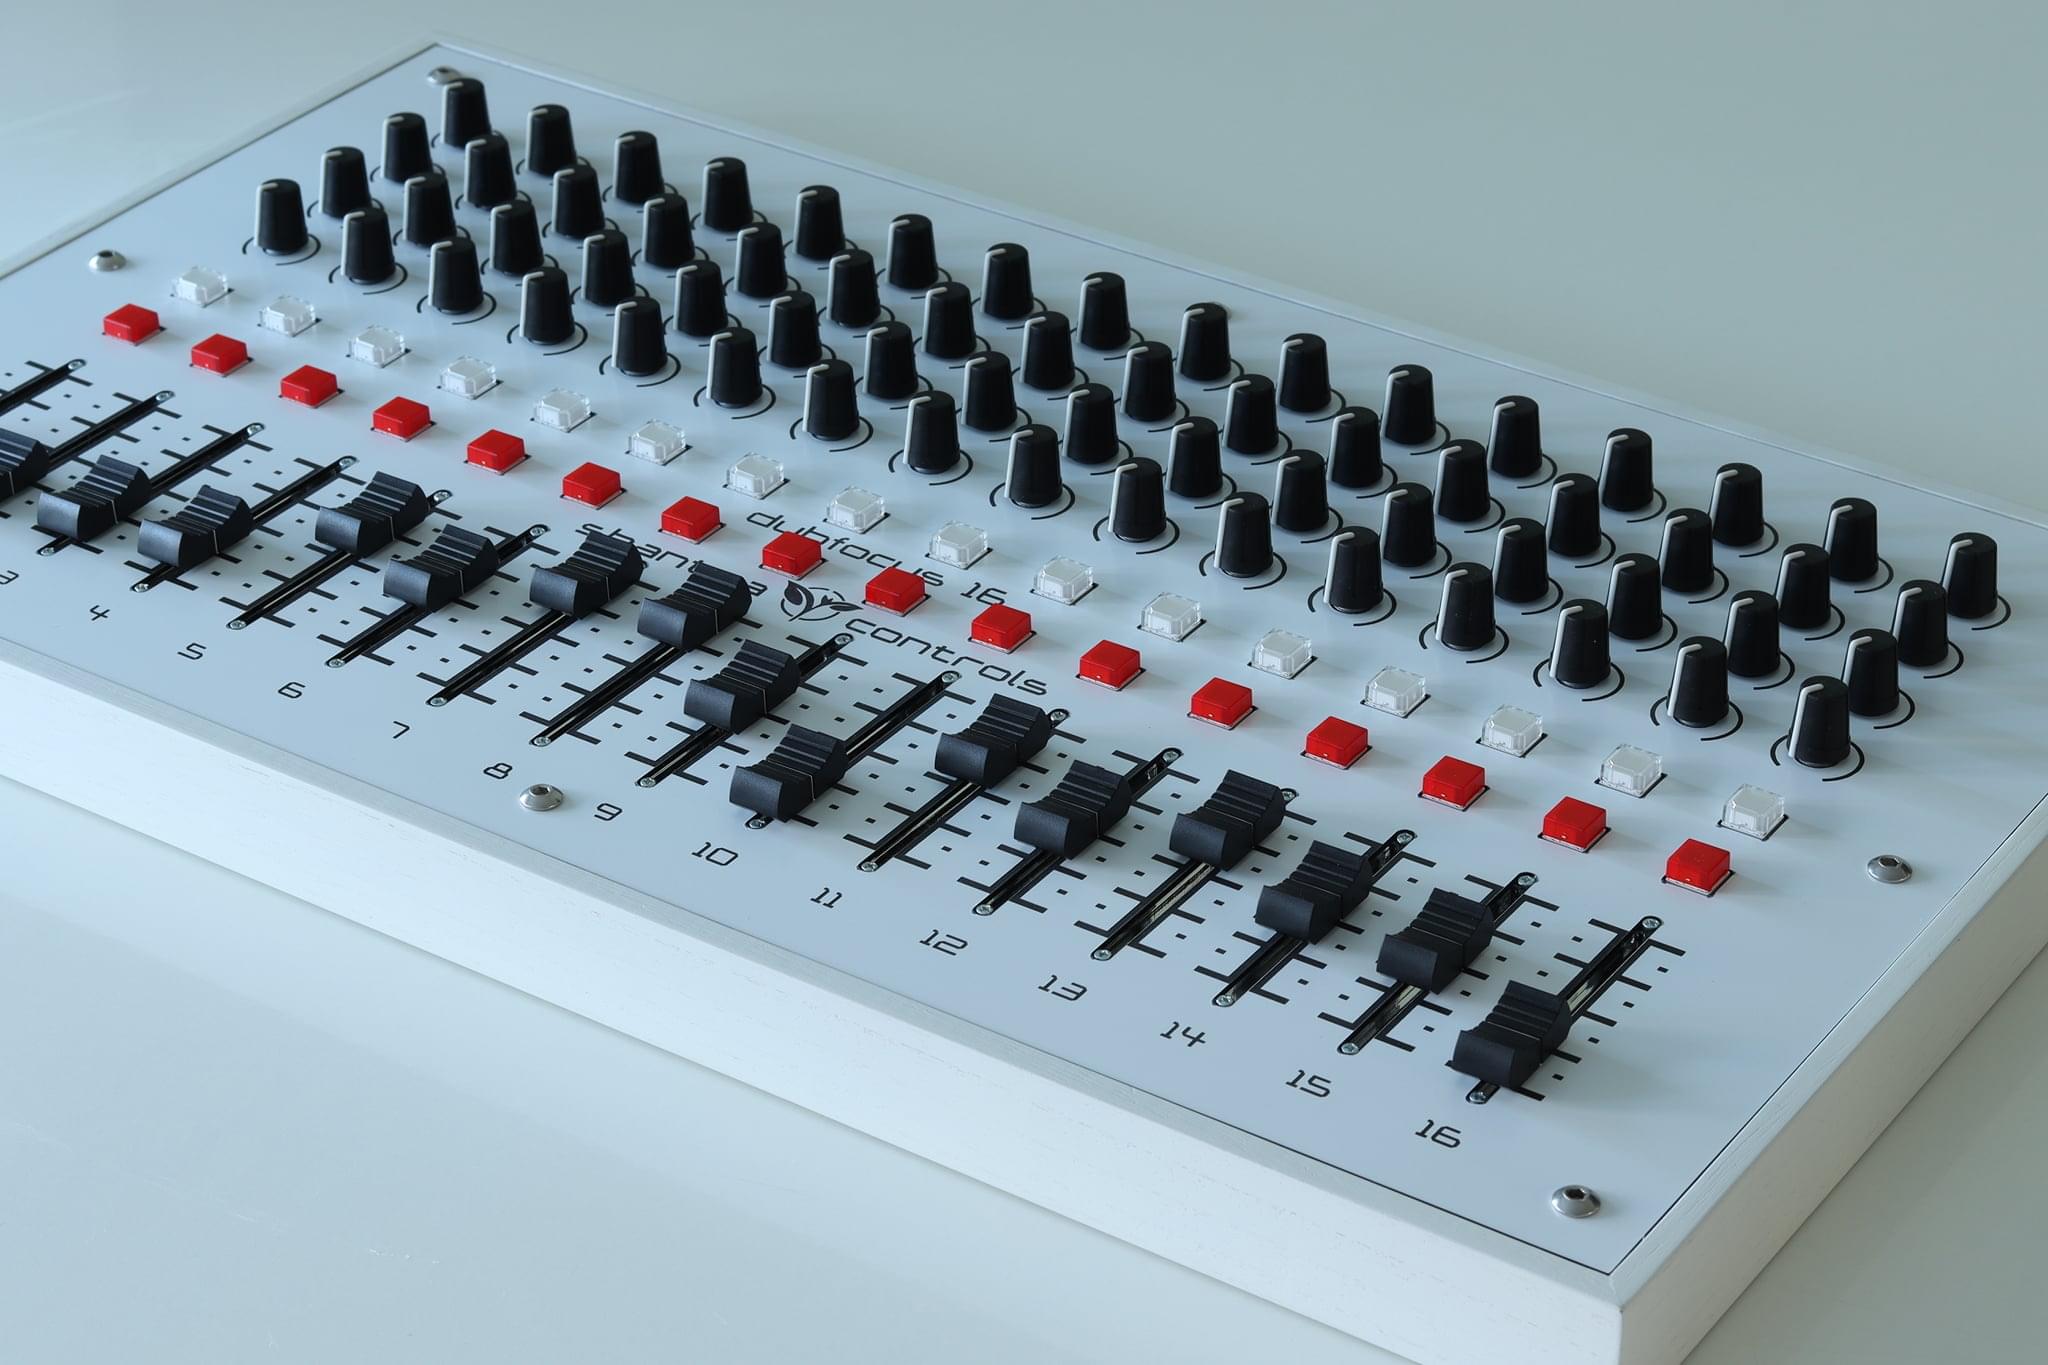
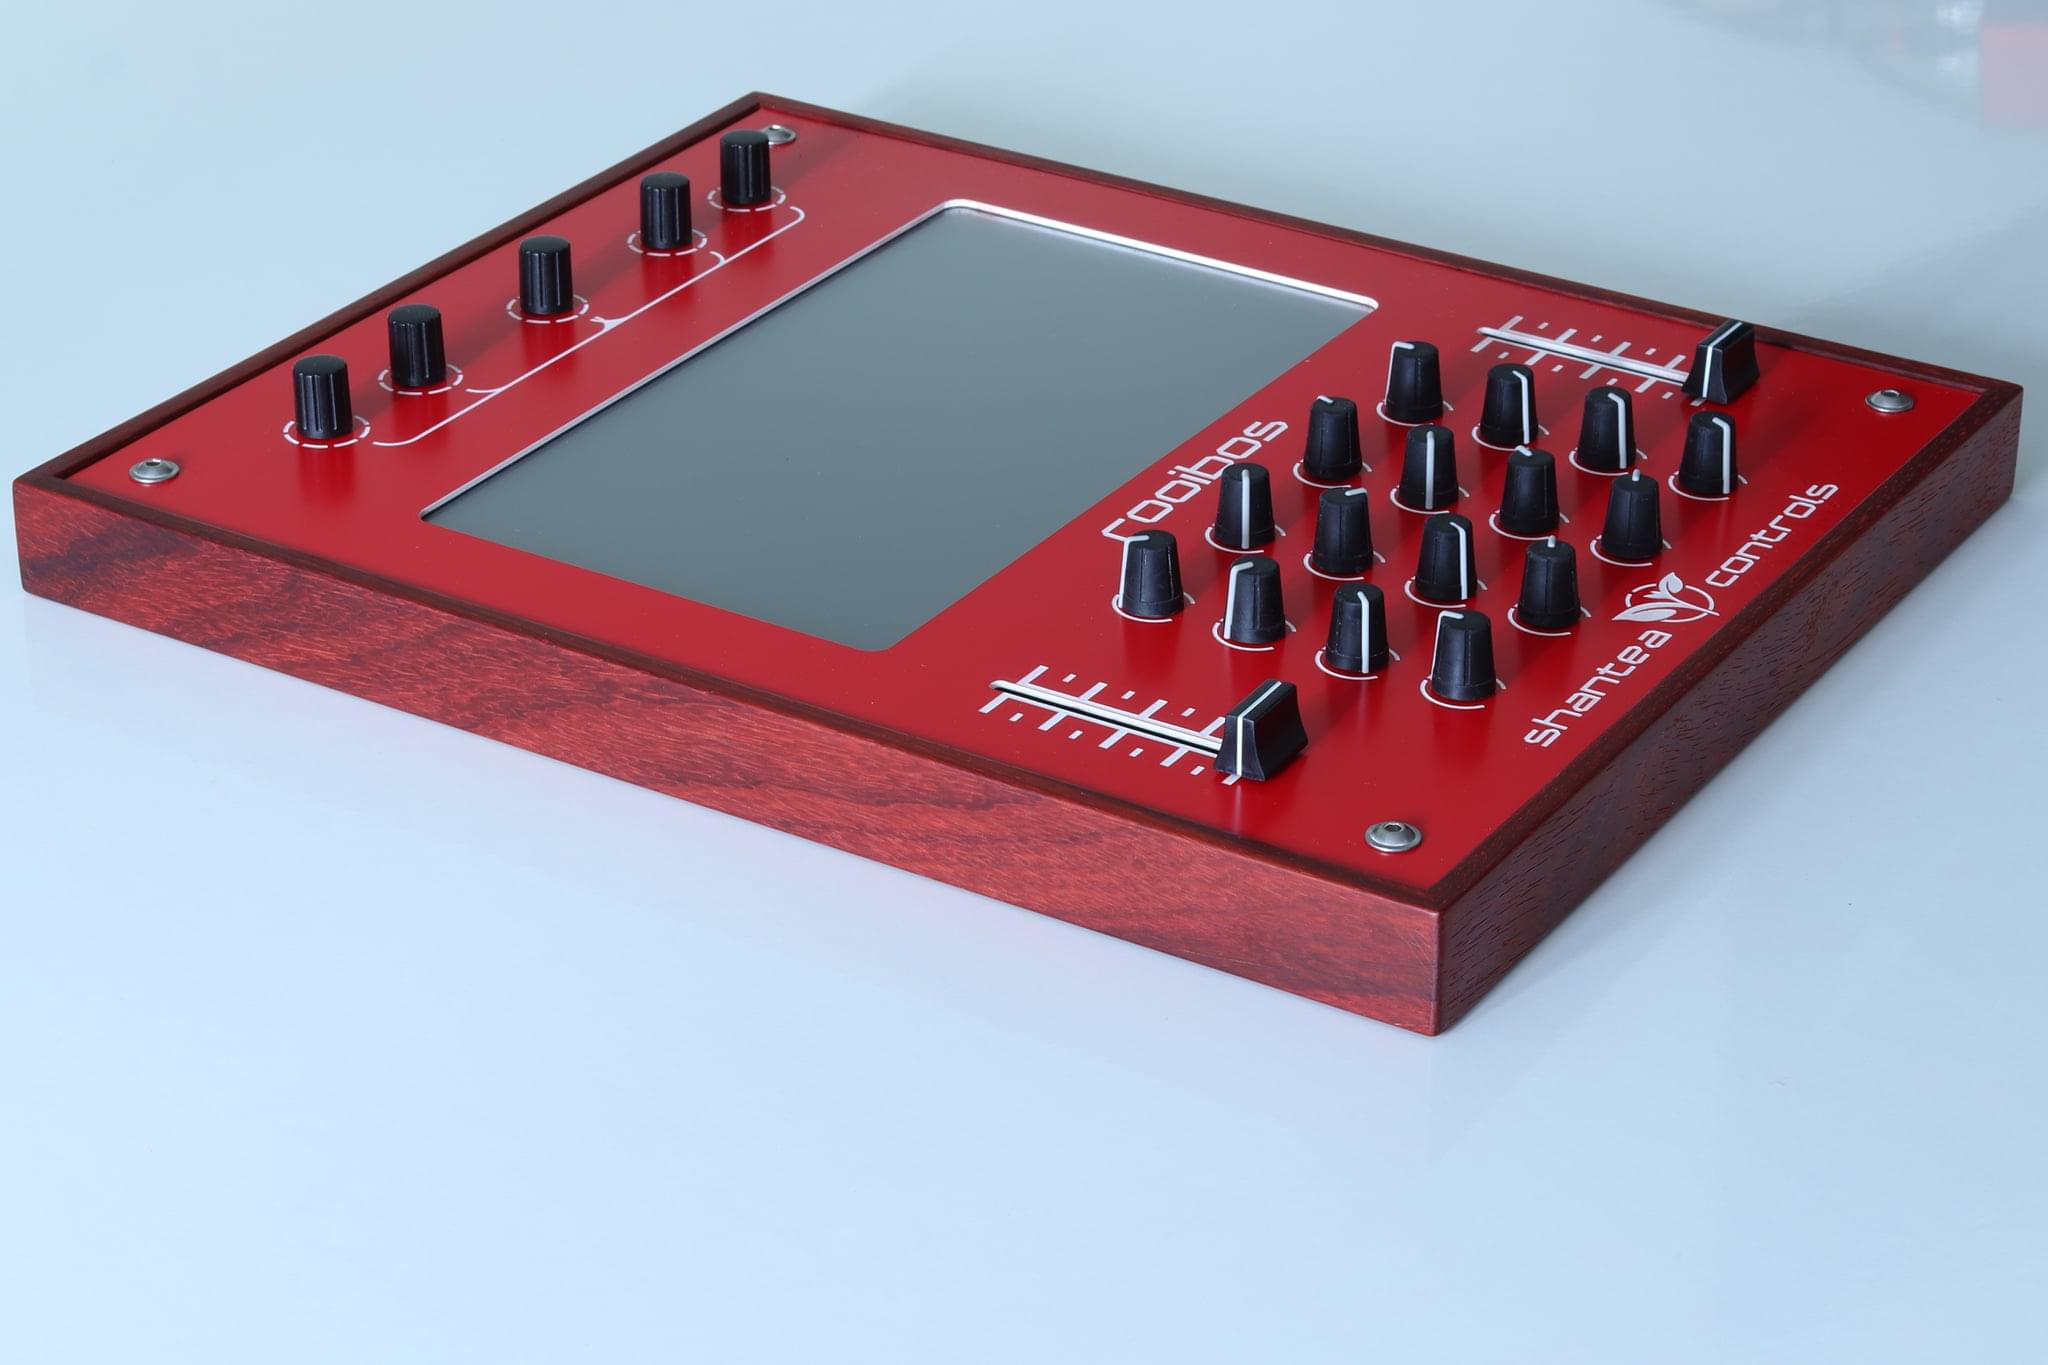
AmpliTube supports MIDI CC messages to control many parameters in the software; from engaging or bypassing virtual effects pedals, to switching channels on an amplifier emulation, controlling its volume, and so on. Using OpenDeck to control the software in this way has always been simple; you build a hardware controller to act like a physical pedal board and map the CC messages accordingly. Such a controller might have 6, 8, 10 or more “stomp”-style foot switches, and possibly some pots or encoders, providing everything you need to control a “virtual guitar rig”.</p>

<p>However, for many guitarists, the real power in AmpliTube is that it also supports up to 128 user “presets” when in “Live” mode, each defining a unique combination of virtual pedals, amplifiers, cabinets, and rack effects, and all with pre-programmed parameter values. In other words, you can store up to <em>128 distinct virtual guitar rigs</em> and recall each with a MIDI Program Change message. At first, that might seem like overkill, but I routinely use 20 or more such presets in a single night’s performance, and often 3 or 4 presets in a single song.</p>

<p>The trick in building a controller for this purpose is balancing functionality with usability. I certainly don’t want a controller with 20+ foot switches on it; while perfectly functional, that’s not particularly usable and it’s larger than it should be, in my mind. Just imagine the cover band guitarist that would need 50 or more different foot switches for their setups!</p>

<p>A more elegant solution would be a controller with just a few foot switches that allows the player to “page” through <em>logical groupings of presets</em>, much the same way the octave up/down buttons on a MIDI keyboard controller pages through the octaves. In that UX, a single musical key can send a different note value depending on the currently selected octave. Likewise, on our AmpliTube controller, we could configure any single foot switch to send different Program Change values, depending on which logical group of presets is currently selected; this is where the new <a href="https://github.com/shanteacontrols/OpenDeck/wiki/Configurable-features#message-type">Program Change Offset features</a> of OpenDeck v7.3.0 comes in.</p>

<p>
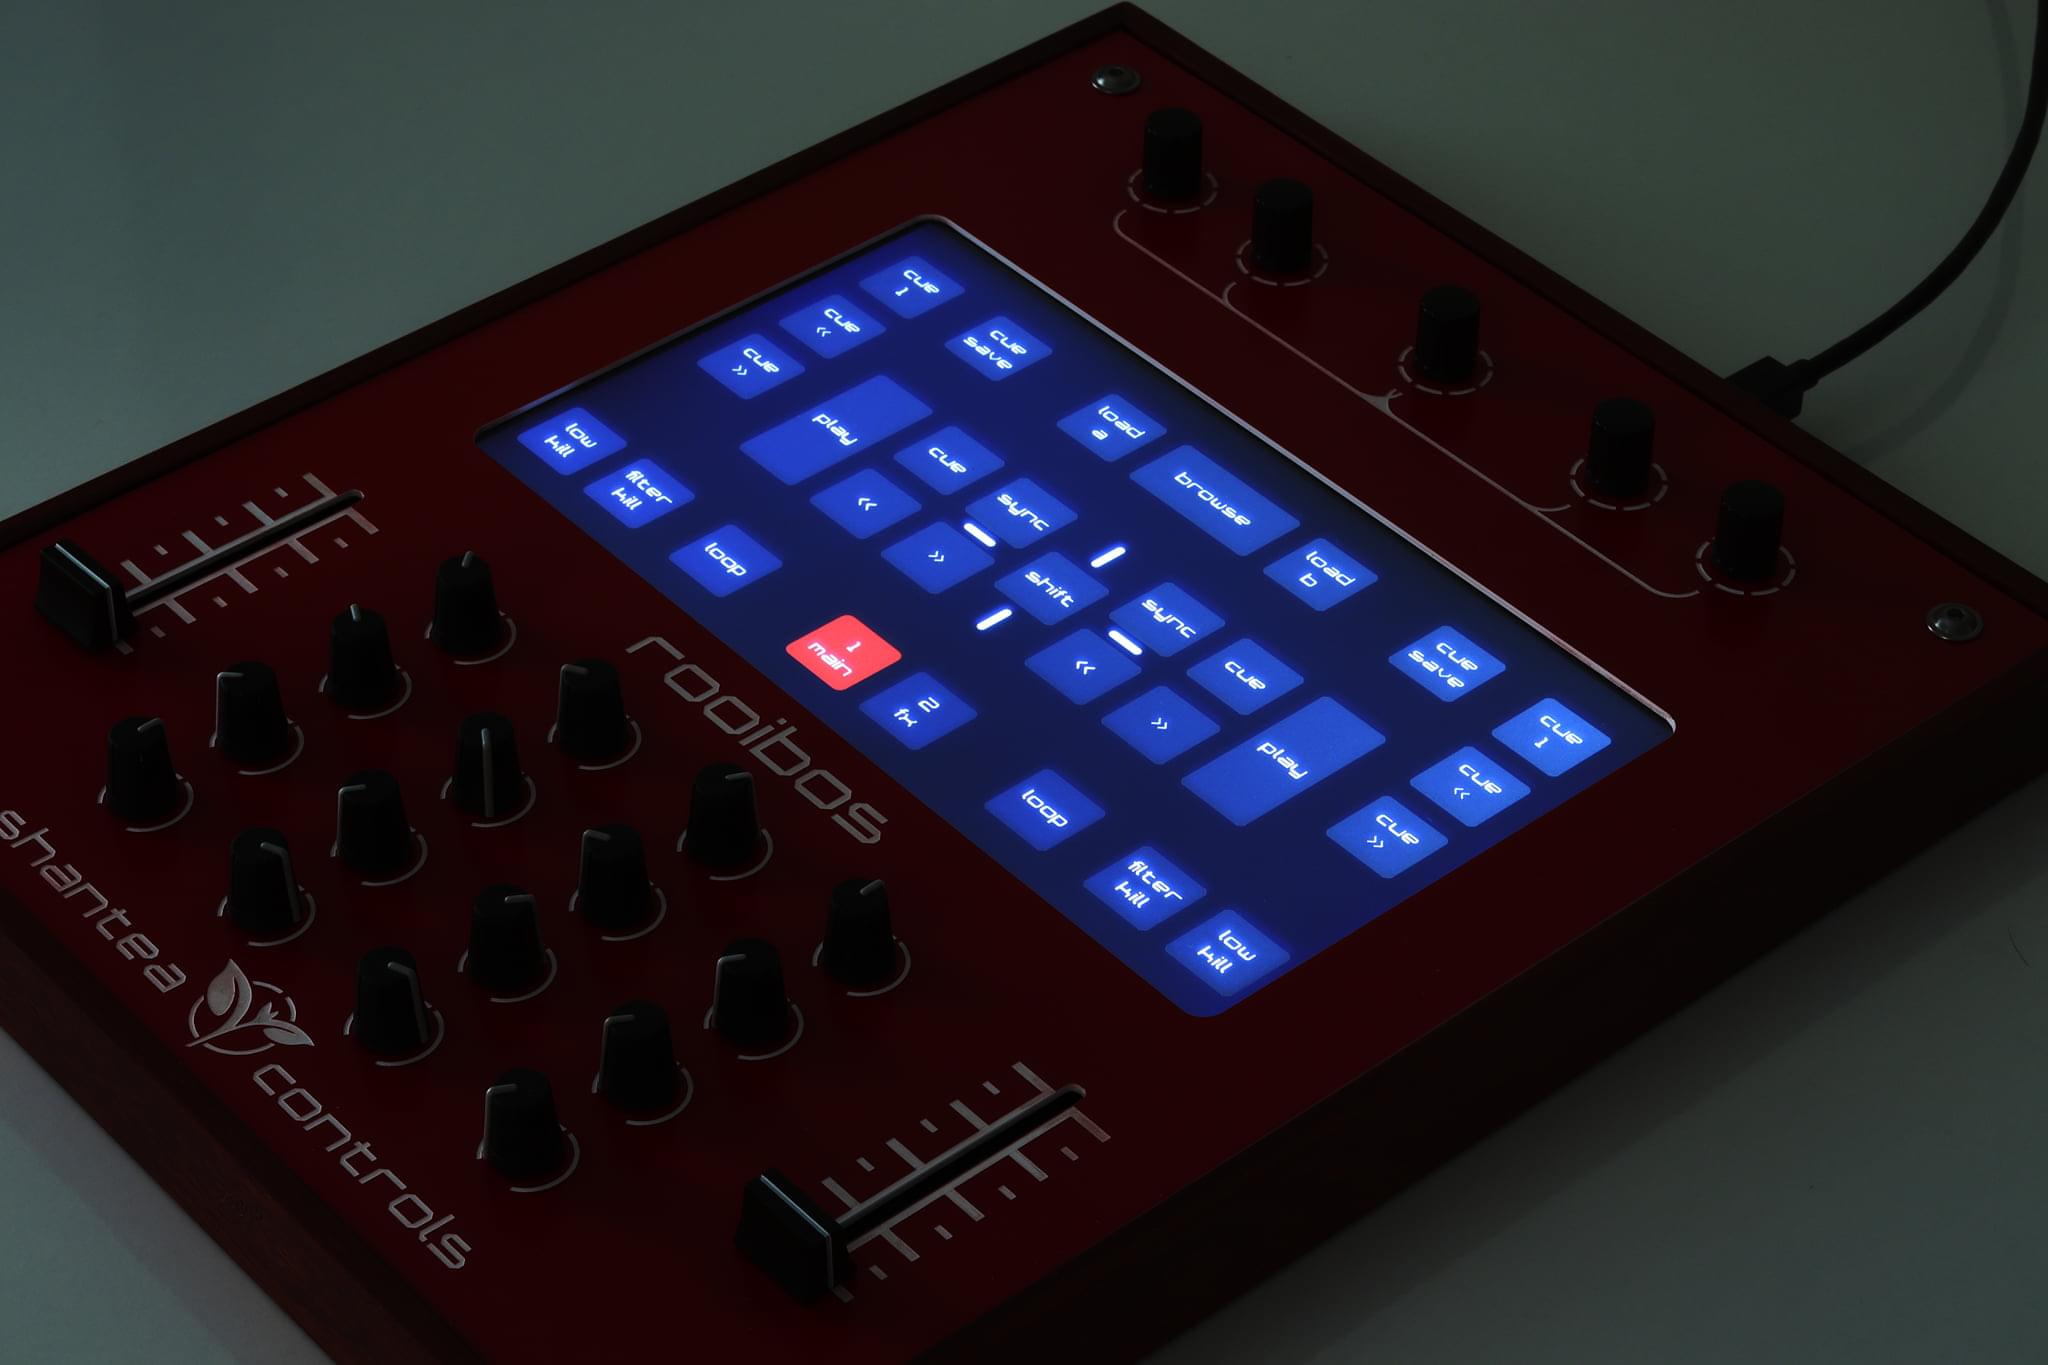
The controller I am building looks and works like this (when I complete the physical controller, I’ll update the image!):</p>

<p><img src="/images/blog/new-pco-features/01.png" alt="" /></p>

<ul>
  <li>
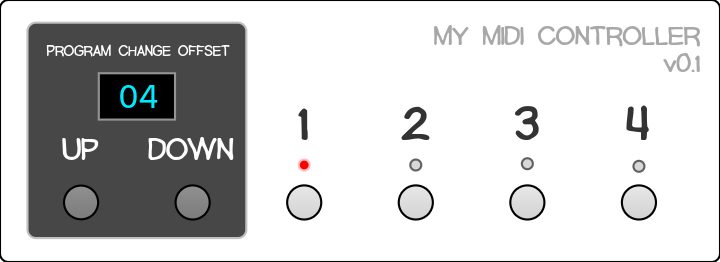
AmpliTube logically organises presets in groups of 4. So, my controller has 4 <em>Program Change</em> foot switches, numbered 1-4. In the Configurator, these are <em>Buttons</em> with <em>Message Type</em> set to <em>Program Change</em>, and their values are 0-3. <em>(I know, it’s a little confusing: AmpliTube presets start at 001 in its UI, but PC#0 for Program Changes. So, PC#0 recalls preset 001, PC#1 recalls preset 002, and so on.)</em></li>
  <li>The <em>Program Change Offset</em> UP/DOWN foot switches are configured for the new <a href="https://github.com/shanteacontrols/OpenDeck/wiki/Configurable-features#message-type"><em>Program Change Offset Increment</em> and <em>Decrement Message Types</em></a>. The value can be anything from 1 to 128, but I have 4 <em>Program Change</em> foot switches, so I set the value to 4 for both the UP and DOWN foot switches. Pressing the UP button adds 4 to the current offset value, and pressing DOWN subtracts 4. The offset cannot go lower than 0.</li>
  <li>In the mockup image above, the current <em>Program Change Offset</em> value is displayed in the blue OLED display; it’s 04.</li>
  <li>
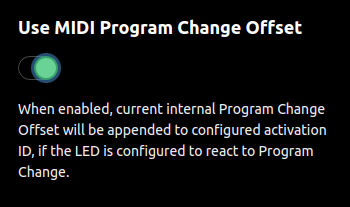
There are also 4 LEDs: one LED for each of the <em>Program Change</em> foot switches. Since only one preset can be loaded at a time, the LEDs indicate which of the 4 <em>Program Change</em> foot switches was last pressed. In order to make the LEDs use the new <em>Program Change Offset</em> value, a <a href="https://github.com/shanteacontrols/OpenDeck/wiki/Configurable-features#global-parameters">new Use MIDI Program Change Offset</a> option has been added to the LED &gt; Global page of the Configurator.</li>
</ul>

<p><img src="/images/blog/new-pco-features/ledpco.png" alt="" /></p>

<p>Using the controller works like this:</p>
<ul>
  <li>To recall AmpliTube preset 001, use the <em>Program Change Offset</em> foot switches to set the current offset to 00. Then press the 1 foot switch.</li>
  <li>To recall AmpliTube preset 005, use the <em>Program Change Offset</em> foot switches to set the current offset to 04, and press the 1 foot switch.</li>
  <li>To recall AmpliTube preset 011, set the current offset to 08, and press the 3 foot switch.</li>
  <li>And so on.</li>
</ul>

<p>The pattern is simpler than it might seem; when pressing a <em>Program Change</em> button, the PC value that gets sent is calculated as <em>(Program Change Offset + Button Program Change Value)</em>. So, when the <em>Program Change Offset</em> is 8, pressing the 3 foot switch recalls preset 011 in AmpliTube. 8 + 3 = 11. Easy, right?</p>

<p>With some thoughtful organisation of your presets in AmpliTube, loading the one you want at specific moments in your performance should only take a few presses of the foot switches. Personally, I like arranging the presets so that I don’t have to press the <em>Program Change Offset</em> buttons during any given song. (This results in some empty or duplicate AmpliTube presets in come cases, but I prefer the simplicity.)</p>

<h2 id="but-wait-theres-more">But Wait, There’s More!</h2>

<p>Remember how I said that AmpliTube also supports CC messages to control individual parameters like virtual effect pedal bypass? The v0.1 controller above is only useful for changing presets, but not for sending CC messages. Let’s look at v0.2 of the controller:</p>

<p><img src="/images/blog/new-pco-features/02.png" alt="" /></p>

<p>
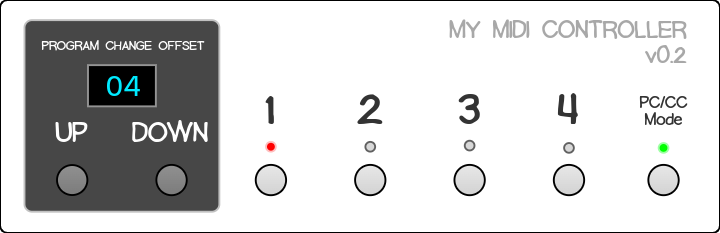
Note the PC/CC Mode foot switch and LED. This allows the user to toogle between 2 <a href="https://github.com/shanteacontrols/OpenDeck/wiki/Configurable-features#presets">OpenDeck presets</a>: one in which the 1-4 buttons are configured for PC messages, and the other in which they are configured for CC messages. The LED toggles between red and green to indicate which mode the controller is in. This is extremely useful for turning on and off specific pedals in an AmpliTube preset. The most obvious use is a Boost or Over Drive pedal.</p>

<p>For example:</p>
<ul>
  <li>In PC Mode, while <em>Program Change Offset</em> is 00, recall preset 001 by pressing foot switch 1.</li>
  <li>Press the PC/CC Mode button to switch to CC Mode, which, behind the scenes, changes the active OpenDeck preset. (<strong>NOT</strong> the AmpliTube preset in this case!)</li>
  <li>In AmpliTube, if I’ve mapped a boost pedal to foot switch 1’s CC, I can enable it or bypass at any point during the performance. Basically, this enables me to use the controller like a traditional hardware pedalboard.</li>
  <li>To get to another preset from here, use the PC/CC Mode foot switch to switch OpenDeck presets again, and select the AmpliTube preset as before.</li>
</ul>

<p>To take it one step further, we could add an expression pedal to our controller (with an <em>Analog</em> input set to CC 7-bit and upper limit 127 in OpenDeck), and control our wah or volume pedals (or any other param!) in any given AmpliTube preset.</p>

<p>Really powerful stuff. And the v7.3.0 OpenDeck firmware makes it all possible for DIYers!</p>

<p>Cheers and be well!</p>]]></content><author><name></name></author><category term="opendeck" /><summary type="html"><![CDATA[This is a guest post by Ricky Sheaves aka n3wkular.]]></summary><media:thumbnail xmlns:media="http://search.yahoo.com/mrss/" url="https://shanteacontrols.com/new-pco-features/01.png" /><media:content medium="image" url="https://shanteacontrols.com/new-pco-features/01.png" xmlns:media="http://search.yahoo.com/mrss/" /></entry><entry><title type="html">OpenDeck boards v3 now available</title><link href="https://shanteacontrols.com/2022/06/20/opendeck-boards-v3-available-now/" rel="alternate" type="text/html" title="OpenDeck boards v3 now available" /><published>2022-06-20T00:00:00+00:00</published><updated>2022-06-20T00:00:00+00:00</updated><id>https://shanteacontrols.com/2022/06/20/opendeck-boards-v3-available-now</id><content type="html" xml:base="https://shanteacontrols.com/2022/06/20/opendeck-boards-v3-available-now/"><![CDATA[<p>The wait is over - new boards are available now on <a href="https://www.tindie.com/products/paradajz/opendeck-diy-midi-platform-l/">Tindie</a>!</p>

<p>To recap, here are the features:</p>

<ul>
  <li>128 digital inputs</li>
  <li>64 digital outputs</li>
  <li>64 analog inputs</li>
  <li>DIN MIDI</li>
  <li>USB MIDI</li>
  <li>DMX</li>
  <li>Bluetooth on Arduino variant</li>
</ul>

<p>Price for Black Pill variant is $165, and $175 for Arduino variant. The only difference is Bluetooth support on Arduino variant, and few more presets (since nRF52840 used on Arduino has more flash memory). The boards are being sold without headers, and DIN MIDI connectors are optionally available.</p>]]></content><author><name></name></author><category term="opendeck" /><category term="announce" /><summary type="html"><![CDATA[The wait is over - new boards are available now on Tindie!]]></summary><media:thumbnail xmlns:media="http://search.yahoo.com/mrss/" url="https://shanteacontrols.com/od3/5.png" /><media:content medium="image" url="https://shanteacontrols.com/od3/5.png" xmlns:media="http://search.yahoo.com/mrss/" /></entry><entry><title type="html">OpenDeck v7</title><link href="https://shanteacontrols.com/2022/04/09/opendeck-7/" rel="alternate" type="text/html" title="OpenDeck v7" /><published>2022-04-09T00:00:00+00:00</published><updated>2022-04-09T00:00:00+00:00</updated><id>https://shanteacontrols.com/2022/04/09/opendeck-7</id><content type="html" xml:base="https://shanteacontrols.com/2022/04/09/opendeck-7/"><![CDATA[<p>Even though last post made it sound like the development of the OpenDeck platform is stopping, that was not the case. In the meantime I’ve found few more areas I’d like to explore. One of them is Bluetooth MIDI and that was the focus of latest OpenDeck release, <a href="https://github.com/shanteacontrols/OpenDeck/releases/tag/v7.1.0">v7.1.0</a>.</p>

<p>BLE MIDI is now supported on the following boards:</p>

<ul>
  <li><a href="https://www.adafruit.com/product/4481">Adafruit ItsyBitsy nRF52840 Express</a></li>
  <li><a href="https://www.nordicsemi.com/Products/Development-hardware/nrf52840-dk">nRF52840 DK</a></li>
</ul>

<p>As always, support for more BLE supported boards will be added in the future. Building a wireless controller with OpenDeck is now as simple as toggling the “BLE MIDI” toggle in the web configuration tool.</p>

<p><img src="/images/blog/v7_midi_options.jpg" alt="" /></p>

<p>There’s also reworked thruing, so you can thru anything to anything now. Some other new features since v6.0 include:</p>

<ul>
  <li>Added the ability to specify global MIDI channel for all components</li>
  <li>Added the ability to specify “omni” MIDI chanel 17
    <ul>
      <li>For outgoing data, channel 17 will send MIDI messages on all MIDI channels</li>
      <li>For incoming data, setting the channel to 17 will ignore the channel (eg. for LEDs this will make them listen to all MIDI channels)</li>
    </ul>
  </li>
  <li>Added “Only note off” and “Only CC 0” message modes for buttons: combined with omni MIDI channel setting this makes it possible to configure the buttons as “kill” switches to mute all channels if supported by the controlling software / gear</li>
  <li>Reworked MIDI thru options</li>
  <li>Implemented double-buffering for DMX to avoid tearing</li>
  <li>Added the ability to control DMX channels via SysEx</li>
  <li>Added the ability to control DMX channels via connected components - DMX message mode can now be assigned to buttons, encoders and analog components</li>
  <li>Added the ability to specify lower and upper ADC percentage offsets (useful for inputs which can’t reach minimum or maximum ADC value)</li>
</ul>]]></content><author><name></name></author><category term="opendeck" /><category term="announce" /><summary type="html"><![CDATA[Even though last post made it sound like the development of the OpenDeck platform is stopping, that was not the case. In the meantime I’ve found few more areas I’d like to explore. One of them is Bluetooth MIDI and that was the focus of latest OpenDeck release, v7.1.0.]]></summary><media:thumbnail xmlns:media="http://search.yahoo.com/mrss/" url="https://shanteacontrols.com/ble.png" /><media:content medium="image" url="https://shanteacontrols.com/ble.png" xmlns:media="http://search.yahoo.com/mrss/" /></entry><entry><title type="html">OpenDeck boards v3 in development</title><link href="https://shanteacontrols.com/2022/04/09/opendeck-boards-v3-in-development/" rel="alternate" type="text/html" title="OpenDeck boards v3 in development" /><published>2022-04-09T00:00:00+00:00</published><updated>2022-04-09T00:00:00+00:00</updated><id>https://shanteacontrols.com/2022/04/09/opendeck-boards-v3-in-development</id><content type="html" xml:base="https://shanteacontrols.com/2022/04/09/opendeck-boards-v3-in-development/"><![CDATA[<p>The new OpenDeck boards are coming. Not yet, but soon enough!</p>

<p>It’s been 4 months now since the OpenDeck boards have been sold out. <a href="https://shanteacontrols.com/2021/11/23/opendeck-6-what-comes-next/">Few posts ago</a> I wrote on why the future of the boards looks bleak. In short: high prices and general electronics shortage make it very hard to design anything involving MCU right now.</p>

<p>I’ve found a workaround and started to design the new OpenDeck board. It’s quite different from my previous boards. It’s gonna be big! These are the main features:</p>

<ul>
  <li>128 digital inputs</li>
  <li>64 digital outputs</li>
  <li>64 analog inputs</li>
  <li>DIN MIDI</li>
  <li>USB MIDI</li>
  <li>DMX</li>
  <li>Bluetooth*</li>
  <li>Accelerometer / gyroscope / magnetometer*</li>
</ul>

<p>Why it’s so big? Well, since OpenDeck firmware supports many other boards, some with the amount of I/O similar to the original board, this design feels like a more compelling proposition, compared to the boards you can buy off the shelf. Many people have been asking for more I/O, so here we are.</p>

<p>Due to the chip shortage, the idea is revised a bit - this board will accept either <a href="https://store.arduino.cc/products/arduino-nano-33-ble">Arduino Nano 33 BLE</a> (OpenDeck variant A) or <a href="https://www.aliexpress.com/item/1005001456186625.html">STM32F4 Black Pill</a> boards (OpenDeck variant B). The main difference is Bluetooth and acc/gyro/mag sensors are available only on Arduino board, otherwise for end users it’s the same thing. This has many advantages compared to my previous design which was fully my own:</p>

<ul>
  <li>I don’t have to lock the design to a specific MCU</li>
  <li>Shortage affects me much less this way (if at all)</li>
  <li>This makes the board compatible with 5 (!) boards: there’s two variants of Arduino 33 BLE board and 3 variants of Black Pill boards. Even if one becomes unavailable, there are many others to choose from.</li>
  <li>These boards are actually available to buy unlike standalone MCUs</li>
</ul>

<p>Price <em>should</em> be somewhat similar to the previous board, and availability - who knows? Hopefully in 2-3 months. This is also my first design in KiCAD after 10 years of using EAGLE, so just learning the software alone should take a while.</p>

<p>Some renders of the board below (Arduino should obviously be blue, not sure why it’s brown in render).</p>

<p><img src="/images/blog/od3/1.png" alt="" /></p>

<p><img src="/images/blog/od3/2.png" alt="" />
<img src="/images/blog/od3/3.png" alt="" />
<img src="/images/blog/od3/4.png" alt="" /></p>

<p>This board also addresses some of the shortcomings of the previous board - there’s more space between pin headers now, connectors for +5V and +3V have been added and there are also real connectors now for I2C and touchscreen.</p>]]></content><author><name></name></author><category term="opendeck" /><category term="announce" /><summary type="html"><![CDATA[The new OpenDeck boards are coming. Not yet, but soon enough!]]></summary><media:thumbnail xmlns:media="http://search.yahoo.com/mrss/" url="https://shanteacontrols.com/od3/2.png" /><media:content medium="image" url="https://shanteacontrols.com/od3/2.png" xmlns:media="http://search.yahoo.com/mrss/" /></entry><entry><title type="html">OpenDeck v6 - what comes next?</title><link href="https://shanteacontrols.com/2021/11/23/opendeck-6-what-comes-next/" rel="alternate" type="text/html" title="OpenDeck v6 - what comes next?" /><published>2021-11-23T00:00:00+00:00</published><updated>2021-11-23T00:00:00+00:00</updated><id>https://shanteacontrols.com/2021/11/23/opendeck-6-what-comes-next</id><content type="html" xml:base="https://shanteacontrols.com/2021/11/23/opendeck-6-what-comes-next/"><![CDATA[<p>OpenDeck v6 was released a while ago, it’s just that I haven’t written a blog post about it. Let’s correct that.</p>

<h2 id="dmx">DMX</h2>

<p>OpenDeck now supports DMX output through <a href="https://www.openlighting.org/ola/">OLA (Open Lighting Architecture)</a>. OLA implements interface which various lighting software can use (such as <a href="https://qlcplus.org/">QLC+</a>). This is done via additional USB interface which enumerates once the OpenDeck boards are plugged in - serial port. DMX support involves adding some circuitry to the board. This information is available <a href="https://github.com/shanteacontrols/OpenDeck/wiki/Connections#dmx">on the wiki</a>. Once the circuitry is added, the only thing left is to click “Enable DMX” in OpenDeck configurator. Simple as that.</p>

<h2 id="support-for-more-boards">Support for more boards</h2>

<p>OpenDeck now supports more boards than ever. These are the newly added boards on which OpenDeck firmware can be loaded:</p>

<ul>
  <li><a href="https://www.waveshare.com/core405r.htm">Waveshare Core405R</a></li>
  <li><a href="https://www.waveshare.com/core407v.htm">Waveshare Core407V</a></li>
  <li><a href="https://www.waveshare.com/core407i.htm">Waveshare Core407I</a></li>
  <li><a href="https://stm32-base.org/boards/STM32F407VET6-STM32-F4VE-V2.0">STM32F4VE</a> (<a href="https://www.ebay.com/itm/401956886691?hash=item5d967f58a3:g:fFcAAOSw4fhdy2rk">eBay</a>)</li>
  <li><a href="http://www.chinalctech.com/m/view.php?aid=338">TPyBoard (PyBoard clone)</a> (<a href="https://www.ebay.com/itm/183887614794?hash=item2ad08e534a:g:bmsAAOSwrSpdLtFM">eBay</a>)</li>
</ul>

<p>Flashing instructions have been updated for all these boards and also greatly improved for other boards (such as Arduino Mega). Check the docs <a href="https://github.com/shanteacontrols/OpenDeck/wiki/Flashing-the-OpenDeck-firmware">on the wiki</a>.</p>

<h2 id="other-stuff">Other stuff</h2>

<ul>
  <li>Analog components can now be used to control LED state in local mode. I’ve been asked about this for a while, and now it’s possible due to the major redesign of some components.</li>
  <li>Program change and preset change LED control modes are now separated. Preset change using MIDI in message has been removed to avoid confusion.</li>
  <li>Smoother analog readouts due to the improved analog filtering</li>
  <li>All kinds of minor fixes and improvements</li>
</ul>

<h1 id="what-next">What next?</h1>

<p>I only have about 10 more OpenDeck boards to sell via Tindie and then I’m out of stock. Due to the various factors, I probably won’t be ordering new batches of boards, which is why there was a great focus on adding support for more boards in the past few months. On top of this, OpenDeck source code is now in a state where I can basically call it finished - as much as I hate to say that since I’ve been doing this for the past 6 years. I just don’t know what else to add to it! It runs on various boards, custom boards can be created by users, it supports all the stuff you’d expect and then some, it has great configurator, I’ve done my best to document the project properly etc. I’m sure I (or someone else) will find some bugs from time to time, which will be fixed, of course. As for the future features - you tell me!</p>]]></content><author><name></name></author><category term="opendeck" /><category term="announce" /><summary type="html"><![CDATA[OpenDeck v6 was released a while ago, it’s just that I haven’t written a blog post about it. Let’s correct that.]]></summary><media:thumbnail xmlns:media="http://search.yahoo.com/mrss/" url="https://shanteacontrols.com/cover_opendeck_v6.jpg" /><media:content medium="image" url="https://shanteacontrols.com/cover_opendeck_v6.jpg" xmlns:media="http://search.yahoo.com/mrss/" /></entry><entry><title type="html">The new DubFocus controller</title><link href="https://shanteacontrols.com/2021/06/04/the-new-dubfocus-controller/" rel="alternate" type="text/html" title="The new DubFocus controller" /><published>2021-06-04T00:00:00+00:00</published><updated>2021-06-04T00:00:00+00:00</updated><id>https://shanteacontrols.com/2021/06/04/the-new-dubfocus-controller</id><content type="html" xml:base="https://shanteacontrols.com/2021/06/04/the-new-dubfocus-controller/"><![CDATA[<p>After some deliberation, I’ve decided to build few new DubFocus controllers. There are several differences between these and previous models:</p>

<ol>
  <li>DubFocus 12 became DubFocus 16 in same case – the horizontal spacing between components is now 29mm instead of 40mm.</li>
  <li>PCBs have been totally redesigned so now, the entire controller is made from 3 large PCBs, connected by two flat cables. There is also one small USB board as before.</li>
  <li>I am now using STM32F411 Black Pill board as the “brain” of the controller since hand soldering of STM32 MCUs is a major pain.</li>
  <li>No more holders and holding plate – everything is screwed to Plexiglas plate and then Gravoply plate is screwed on top of that. Before, Plexiglas and Gravoply plates have been glued together. Plexiglas plate is now also thicker since it caries all the electronics on itself (5mm vs. 3mm before).</li>
  <li>I’ve used metal pots for these builds. No particular reason – I still can’t decide which ones I prefer.</li>
</ol>

<p>So, without further ado, check the pictures below to see how DubFocus 16C (C = compact) came into life!</p>

<p><img src="/images/blog/172542229_220702589727822_618265503888699395_n.jpg" alt="" /></p>

<p><img src="/images/blog/173199660_221392879658793_9034175403378905046_n.jpg" alt="" /></p>

<p><img src="/images/blog/174163217_223865929411488_3903818462814472629_n.jpg" alt="" /></p>

<p><img src="/images/blog/174633403_224150579383023_3984727542828117320_n.jpg" alt="" /></p>

<p><img src="/images/blog/178580180_231869485277799_5282707656067592910_n.jpg" alt="" /></p>

<p><img src="/images/blog/180033747_234501895014558_1655514314867501703_n.jpg" alt="" /></p>

<p><img src="/images/blog/180321888_234501448347936_1144560035242290225_n.jpg" alt="" /></p>

<p><img src="/images/blog/180611525_234501701681244_4111231124521419647_n.jpg" alt="" /></p>

<p><img src="/images/blog/183117105_239682507829830_3719657556997011817_n.jpg" alt="" /></p>

<p><img src="/images/blog/184056315_242353007562780_9047760974017905916_n.jpg" alt="" /></p>

<p><img src="/images/blog/187945877_251376923327055_3222605484840057158_n.jpg" alt="" /></p>

<p><img src="/images/blog/188305862_251376619993752_775288677915221130_n.jpg" alt="" /></p>

<p><img src="/images/blog/188423488_251376816660399_8975519552491615412_n.jpg" alt="" /></p>

<p><img src="/images/blog/188534875_251377606660320_8726075325443042313_n.jpg" alt="" /></p>

<p><img src="/images/blog/188690883_251378013326946_8034703593923187815_n.jpg" alt="" /></p>

<p><img src="/images/blog/189018428_251377426660338_7769020329510105453_n.jpg" alt="" /></p>

<p><img src="/images/blog/191646335_255734162891331_7987082116862482261_n.jpg" alt="" /></p>

<p><img src="/images/blog/193474182_259492185848862_7612030630368761512_n.jpg" alt="" /></p>

<p><img src="/images/blog/193475565_259492395848841_4401799299658561406_n.jpg" alt="" /></p>

<p><img src="/images/blog/193667083_259708545827226_3189400619628564506_n.jpg" alt="" /></p>

<p><img src="/images/blog/194179722_259919012472846_6560917822354076836_n.jpg" alt="" /></p>

<p><img src="/images/blog/194278674_259918892472858_8013798929619142178_n.jpg" alt="" /></p>

<p><img src="/images/blog/194505585_259491659182248_1741719934655752292_n.jpg" alt="" /></p>

<p><img src="/images/blog/194555994_259491585848922_5660892228912734232_n.jpg" alt="" /></p>

<p><img src="/images/blog/195514057_259708709160543_493190385348544288_n.jpg" alt="" /></p>]]></content><author><name></name></author><category term="dubfocus" /><category term="buildlog" /><summary type="html"><![CDATA[After some deliberation, I’ve decided to build few new DubFocus controllers. There are several differences between these and previous models:]]></summary><media:thumbnail xmlns:media="http://search.yahoo.com/mrss/" url="https://shanteacontrols.com/193474182_259492185848862_7612030630368761512_n.jpg" /><media:content medium="image" url="https://shanteacontrols.com/193474182_259492185848862_7612030630368761512_n.jpg" xmlns:media="http://search.yahoo.com/mrss/" /></entry><entry><title type="html">Regarding DubFocus</title><link href="https://shanteacontrols.com/2021/03/30/regarding-dubfocus/" rel="alternate" type="text/html" title="Regarding DubFocus" /><published>2021-03-30T00:00:00+00:00</published><updated>2021-03-30T00:00:00+00:00</updated><id>https://shanteacontrols.com/2021/03/30/regarding-dubfocus</id><content type="html" xml:base="https://shanteacontrols.com/2021/03/30/regarding-dubfocus/"><![CDATA[<p>Due to the frequent questions I get about DubFocus, I’ve written this post to clarify some things.</p>

<p>As some of you are already aware, I’ve spent most of 2020 building DubFocus 12 controllers (and one 16ch). This has proved to be very time consuming, mainly due to the way how I designed the electronics and holding system inside the controller. There were also several common points of failure in assembly increasing the already high assembly time even higher. In total, I’ve made 10 of these controllers. During this time, costs were piling up without me even noticing, due to the way I was building these things (basically as soon as I’ve finished one, I started doing another). I’ve gotten into the state of “I just need to order this small thing and one more” for almost a year and then, you put it all on paper and see that you’re losing money. These things happen, but I don’t think anyone sane is willing to lose money on purpose. I certainly am not, so I’ve decided I won’t be building these things anymore.</p>

<p>For several months now, despite this decision, I am constantly being asked for this controller and its price. At some point it starts feeling bad saying “no I don’t build them”. I’ve obviously created something people want, and to be honest I am very proud of that. I’ve even open-sourced entire electronics of this controller and thus enabled the people to build it themselves. I guess most people don’t want to mess with that. Who can blame them? Building an actual product has very little to do with some prototypes on your desk, as people who have actually built a product can attest. Despite being DIY (I am building the controllers in my living room - no workers, no factory), I consider my products professional and I treat them as such. Otherwise, I wouldn’t sell them.</p>

<p>Now, regarding the DubFocus 16: over the past few days I’ve redesigned DubFocus 12 controller into DubFocus 16 - same dimensions, but 16 channels instead. There’s no need to have 40mm of horizontal spacing between components, and when I’ve reduced that I’ve realized 16 channels fit into these dimensions easily. I’ve also redesigned the electronics and the entire assembly so that assembly time is minimal, made a list of every single component I need to buy, calculated all the small extras, taxes, time needed etc. Electronic components cost higher now then they did one year ago and availability is really bad, with waiting times being between several weeks to several months. Chip shortage is very real real in 2021. With all this, DubFocus 16 price turns out to be *drum-roll*:</p>

<p><strong>1200$.</strong></p>

<p>Now, let’s do a comparison…</p>

<ul>
  <li>Vestax VCM 600 is what many producers use for the kind of setup DubFocus is designed. It came out in 2009 and it cost ~900$. Now, when you account for inflation, if it were to come out in 2021 it would cost ~1100$. This thing has 6 channels. For 1200$, DubFocus has 16. End of comparison.</li>
  <li>There’s also the beloved Livid DS1, which you can get second hand for 200-300$. It has 8 channels. So you can buy two of them (if you can find them) and have 16 channels. Granted, this is much cheaper than buying DubFocus. However, the Livid is no more so support is out of the window. This might not matter to you but it certainly does to some.</li>
</ul>

<p>So here I am, comparing myself to *companies*. There’s only me in Shantea Controls. This is also something to consider. I can’t get good deals for parts since I am not buying a truckload of components. This is low volume stuff. If you fail to realize this please don’t contact me.</p>

<p>Now, regarding the actual building of DubFocus, here are the rules:</p>

<ol>
  <li>I can build 4 for them in the coming months</li>
  <li>Payment is done 60% in advance</li>
  <li>Price as already mentioned is 1200$, shipping not included.</li>
  <li>Build time: in about 3-4 months, not before.</li>
</ol>

<p>If I get 4 pre-orders for this, I’ll build them. Otherwise, firmware and electronics are available in <a href="https://github.com/shanteacontrols/OpenDeck">OpenDeck repository on GitHub</a>.</p>]]></content><author><name></name></author><category term="dubfocus" /><category term="announce" /><summary type="html"><![CDATA[Due to the frequent questions I get about DubFocus, I’ve written this post to clarify some things.]]></summary><media:thumbnail xmlns:media="http://search.yahoo.com/mrss/" url="https://shanteacontrols.com/166086360_207954164335998_7262799458133236482_n.jpg" /><media:content medium="image" url="https://shanteacontrols.com/166086360_207954164335998_7262799458133236482_n.jpg" xmlns:media="http://search.yahoo.com/mrss/" /></entry><entry><title type="html">The touchscreen trio</title><link href="https://shanteacontrols.com/2021/02/18/the-touchscreen-trio/" rel="alternate" type="text/html" title="The touchscreen trio" /><published>2021-02-18T00:00:00+00:00</published><updated>2021-02-18T00:00:00+00:00</updated><id>https://shanteacontrols.com/2021/02/18/the-touchscreen-trio</id><content type="html" xml:base="https://shanteacontrols.com/2021/02/18/the-touchscreen-trio/"><![CDATA[<p>About a year ago I’ve started sketching the new controller for myself, since I’ve found myself a bit limited by the Bergamot controller. Eventually, I made three different controllers (or two, depending on how you count).</p>

<h2 id="cardamom">Cardamom</h2>

<p>Cardamom project started out with specs: 16 pots (standard by now), 7 encoders, 2 channel faders and one crossfader and big, 10″ touchscreen display. Reason I wanted such large screen (by contrast, Bergamot has 5″ one) was to avoid juggling between various screen – there’s only so much you can fit on 5″ display. For this I’ve selected the Nextion. The goal with this controller anyways to add official support for touchscreens, so this served as a great testing ground. This was also the very first controller I’ve started working on with STM32 MCU, which is by now in all my controllers as well as in official OpenDeck board. I also wanted something exotic for the wooden case – my go-to wood guy showed me some time back stunning african wood called Padauk. I immediately fell in love with it and decided Cardamom would have it. So, all in all, very experimental controller with lots of unknowns. Below are some pictures of it.</p>

<p><img src="/images/blog/109956535_147772146897016_6430408931493065490_o.jpg" alt="" /></p>

<p><img src="/images/blog/109800995_147773196896911_7581733213845568884_o.jpg" alt="" /></p>

<p><img src="/images/blog/108232583_146912143649683_232275445360695707_o.jpg" alt="" /></p>

<p><img src="/images/blog/107933249_146911963649701_2622829847782104751_o.jpg" alt="" /></p>

<p>As is tradition with my controllers, this one also has reference to teas – the controller is named Cardamom after a spice giving many Ayurvedic teas their spicy taste, and also a source of vitamin B6, which is the chemical on the plate.
As far as Nextion support is concerned, OpenDeck now supports CDC mode, or more simply, the board can now act as USB to serial device, if you choose to reboot into it from Web UI. This allows you to upload your design to the screen from Nextion GUI without detaching screen from OpenDeck board and then plugging it into FTDI or some other converter. This feature is available on all STM32 based boards.</p>

<div class="videoWrapper">
<iframe width="560" height="315" src="https://www.youtube-nocookie.com/embed/TPc6ETIsVTM" title="YouTube video player" frameborder="0" allow="accelerometer; autoplay; clipboard-write; encrypted-media; gyroscope; picture-in-picture" allowfullscreen=""></iframe>
</div>

<h2 id="rooibos">Rooibos</h2>

<p>I seriously don’t know what I was thinking when I was designing Cardamom. The thing is huge! Actually it was so large that it wouldn’t fit in my small suitcase, which annoyed me greatly. Otherwise it did everything I wanted it to do. So, I decided to build virtually the same controller, but smaller. This one was named Rooibos. I’ve removed crossfader since I barely even use that, and also there are 5 encoders instead of 7, which is also fine. Touchscreen is also 10″, but this one is made by Viewtech – the same company that produced the screen for Bergamot controller. This was another experiment – I wanted to see how they behave and I also wanted official support for them in OpenDeck firmware. I’m very happy with the screen quality. In my opinion, touch sensitivity is bit better than on Nextion, however, their software tooling leaves a lot to be desired. If you want convenience, go with Nextion. If you want industrial quality and reliability, go with Viewtech (or Stone HMI, their global brand). Anyways, this is my main controller now.</p>

<p><img src="/images/blog/129955349_198098805197683_6067196513235935820_o.jpg" alt="" /></p>

<p><img src="/images/blog/129588734_198100081864222_1509632558569520269_o.jpg" alt="" /></p>

<p><img src="/images/blog/129474055_198111261863104_8315209481913533469_o.jpg" alt="" /></p>

<p>Rooibos is a red bush native to South Africa. Leaves from it are used to make one of my favorite teas with the same name. Perfect for any time of the day since it doesn’t contain theine, so it won’t keep you awake, unlike black and green (and anything made from Camellia Sinensis, really) teas do.</p>

<div class="videoWrapper">
<iframe width="560" height="315" src="https://www.youtube-nocookie.com/embed/B4JwPd6Kib4" title="YouTube video player" frameborder="0" allow="accelerometer; autoplay; clipboard-write; encrypted-media; gyroscope; picture-in-picture" allowfullscreen=""></iframe>
</div>

<h2 id="bergamot">Bergamot</h2>

<p>Having built Rooibos I’ve filled all my controller needs, however, I still had that old Bergamot controller lying around. It irked that it was based on, by now, unsupported hardware (ATmega32u4) and it also had worn-out wooden case, which just wasn’t up to the standard of Padauk (but then again, what is?). So I’ve just rebuilt the whole thing, leaving mostly everything as it. I did change the screen, however. It’s 7″ one from Stone HMI.</p>

<p><img src="/images/blog/138267756_224522002555363_4414520917304436623_o.jpg" alt="" /></p>

<p><img src="/images/blog/138222362_224522509221979_5499731080639708385_o.jpg" alt="" /></p>

<p><img src="/images/blog/138047851_224522602555303_6505723444698743035_o.jpg" alt="" /></p>

<h2 id="xy-support">X/Y support</h2>

<p>There is one more thing I’ve added to OpenDeck firmware in latest release – the ability to define custom regions on screen to serve as analog components. Defining is done in Web Ui, just like everything else. This could enable some really cool use-cases. Sadly, all I could think of and show off was controlling two effects at the same time in Traktor DJ. Here’s to hoping I get to see more use cases of this!</p>

<div class="videoWrapper">
<iframe width="560" height="315" src="https://www.youtube-nocookie.com/embed/K29GrrtvoAA" title="YouTube video player" frameborder="0" allow="accelerometer; autoplay; clipboard-write; encrypted-media; gyroscope; picture-in-picture" allowfullscreen=""></iframe>
</div>]]></content><author><name></name></author><category term="buildlog" /><summary type="html"><![CDATA[About a year ago I’ve started sketching the new controller for myself, since I’ve found myself a bit limited by the Bergamot controller. Eventually, I made three different controllers (or two, depending on how you count).]]></summary><media:thumbnail xmlns:media="http://search.yahoo.com/mrss/" url="https://shanteacontrols.com/touchscreen_trio.jpg" /><media:content medium="image" url="https://shanteacontrols.com/touchscreen_trio.jpg" xmlns:media="http://search.yahoo.com/mrss/" /></entry><entry><title type="html">Support for new hardware</title><link href="https://shanteacontrols.com/2020/11/19/support-for-new-hardware/" rel="alternate" type="text/html" title="Support for new hardware" /><published>2020-11-19T00:00:00+00:00</published><updated>2020-11-19T00:00:00+00:00</updated><id>https://shanteacontrols.com/2020/11/19/support-for-new-hardware</id><content type="html" xml:base="https://shanteacontrols.com/2020/11/19/support-for-new-hardware/"><![CDATA[<p>Latest OpenDeck firmware now supports two new STM32F4 boards, commonly known as “Black Pill” - the one with STM32F401 and STM32F411 MCUs. These are very powerful boards and their MCU is very similar to the one I’m already using for all my new controllers and also new OpenDeck board.</p>

<p>They are also very cheap (can be found on eBay for ~4$). More information about these boards can he found <a href="https://stm32-base.org/boards/STM32F401CEU6-WeAct-Black-Pill-V3.0">here</a>. These boards are great alternative to small Arduino Micro boards which aren’t supported anymore since OpenDeck cannot fit into its flash memory.</p>

<p>On the Arduino side of things, <a href="http://mayhewlabs.com/products/mux-shield-2">Mux Shield 2</a> is now supported for Arduino Mega. This shield adds 48 analog inputs to Arduino Mega, which should be more than enough for most people (it’s even more than official OpenDeck board!).</p>

<p><img src="/images/blog/mux_shield2.jpg" alt="" /></p>]]></content><author><name></name></author><category term="opendeck" /><category term="announce" /><summary type="html"><![CDATA[Latest OpenDeck firmware now supports two new STM32F4 boards, commonly known as “Black Pill” - the one with STM32F401 and STM32F411 MCUs. These are very powerful boards and their MCU is very similar to the one I’m already using for all my new controllers and also new OpenDeck board.]]></summary><media:thumbnail xmlns:media="http://search.yahoo.com/mrss/" url="https://shanteacontrols.com/blackpill411.jpg" /><media:content medium="image" url="https://shanteacontrols.com/blackpill411.jpg" xmlns:media="http://search.yahoo.com/mrss/" /></entry><entry><title type="html">OpenDeck v2 boards now available</title><link href="https://shanteacontrols.com/2020/11/11/opendeck-v2-boards-now-available/" rel="alternate" type="text/html" title="OpenDeck v2 boards now available" /><published>2020-11-11T00:00:00+00:00</published><updated>2020-11-11T00:00:00+00:00</updated><id>https://shanteacontrols.com/2020/11/11/opendeck-v2-boards-now-available</id><content type="html" xml:base="https://shanteacontrols.com/2020/11/11/opendeck-v2-boards-now-available/"><![CDATA[<p>This might be the shortest post I’ve ever written - but fairly important nonetheless. The OpenDeck v2 boards can now be ordered via <a href="https://www.tindie.com/products/paradajz/opendeck-diy-midi-platform-m/">Tindie</a>! As an reminder, OpenDeck v2 boards bring the the following:</p>

<ul>
  <li>64 digital inputs for 64 buttons or 32 encoders</li>
  <li>32 analog inputs which can be used as button inputs as well</li>
  <li>48 digital outputs for LEDs (with integrated resistors, so no external resistors are required)</li>
  <li>DIN MIDI in and out</li>
  <li>Class-compliant USB MIDI which works on any operating system without any drivers</li>
  <li>Additional UART connector for touchscreens</li>
  <li>Additional I2C connector for small LCD/OLED displays</li>
  <li>Additional SPI connector which is currently unused</li>
  <li>STM32F405 MCU capable of hosting 10 presets</li>
</ul>

<p>This took longer than expected, but I’m happy that I managed to make them available before the end of this year.</p>]]></content><author><name></name></author><category term="opendeck" /><category term="announce" /><summary type="html"><![CDATA[This might be the shortest post I’ve ever written - but fairly important nonetheless. The OpenDeck v2 boards can now be ordered via Tindie! As an reminder, OpenDeck v2 boards bring the the following:]]></summary></entry></feed>